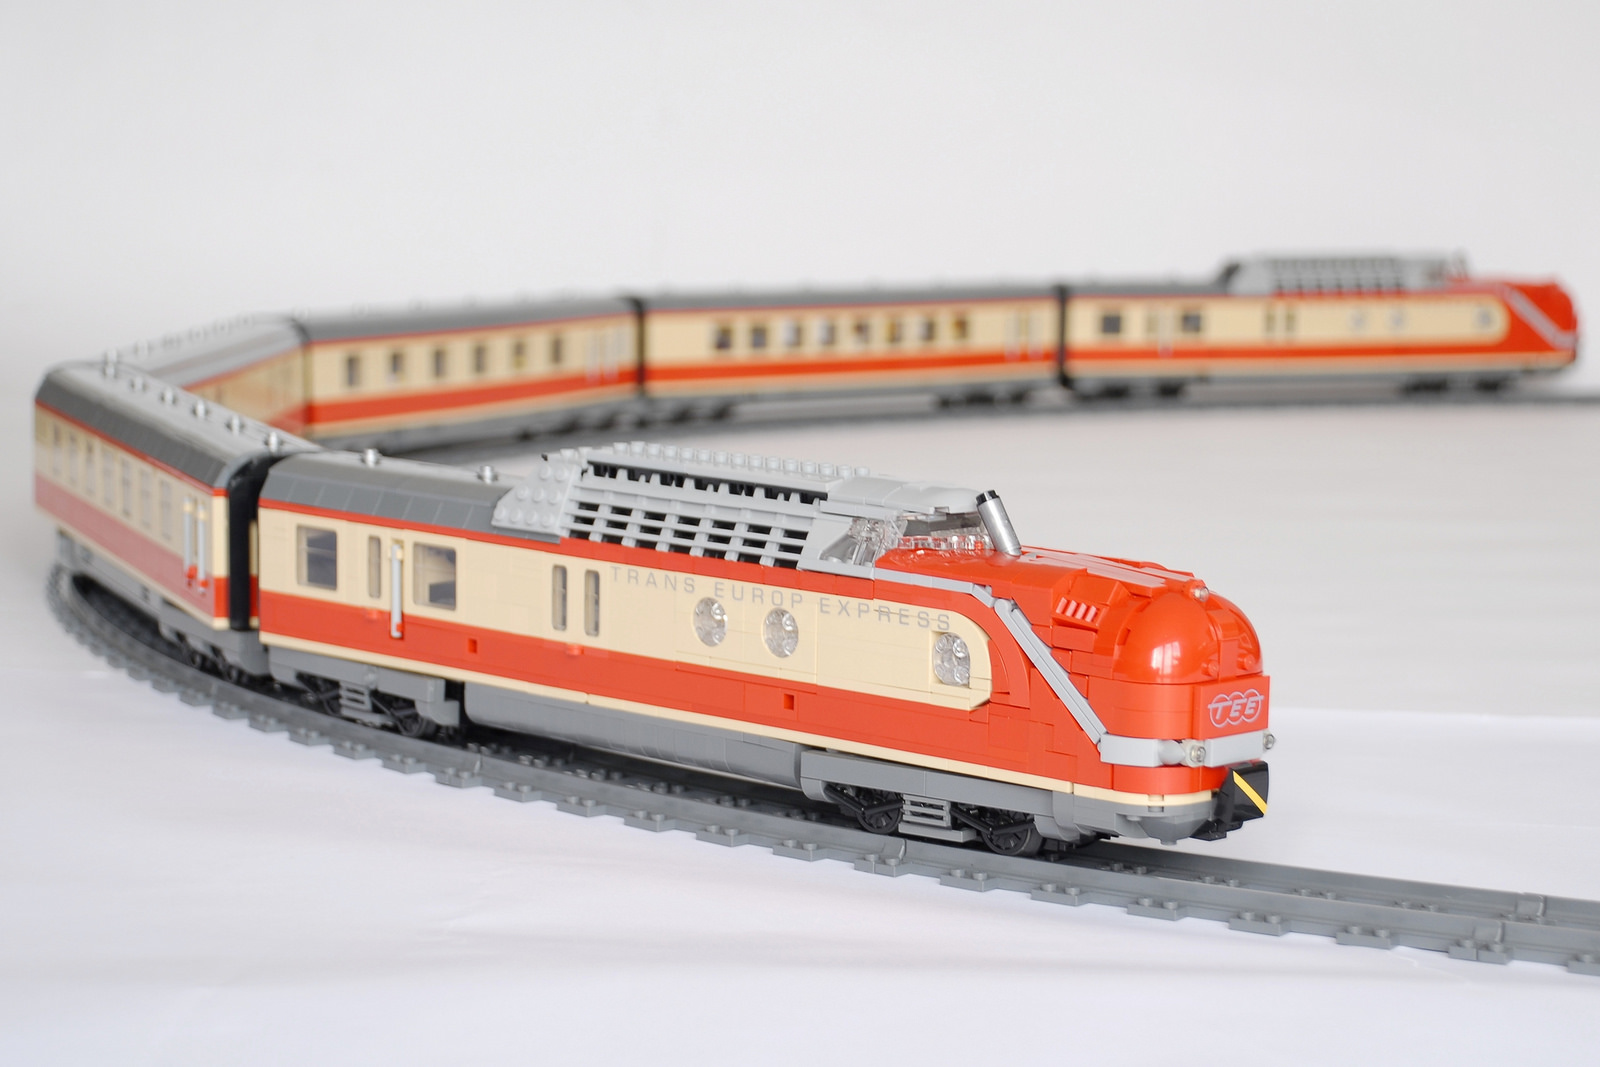
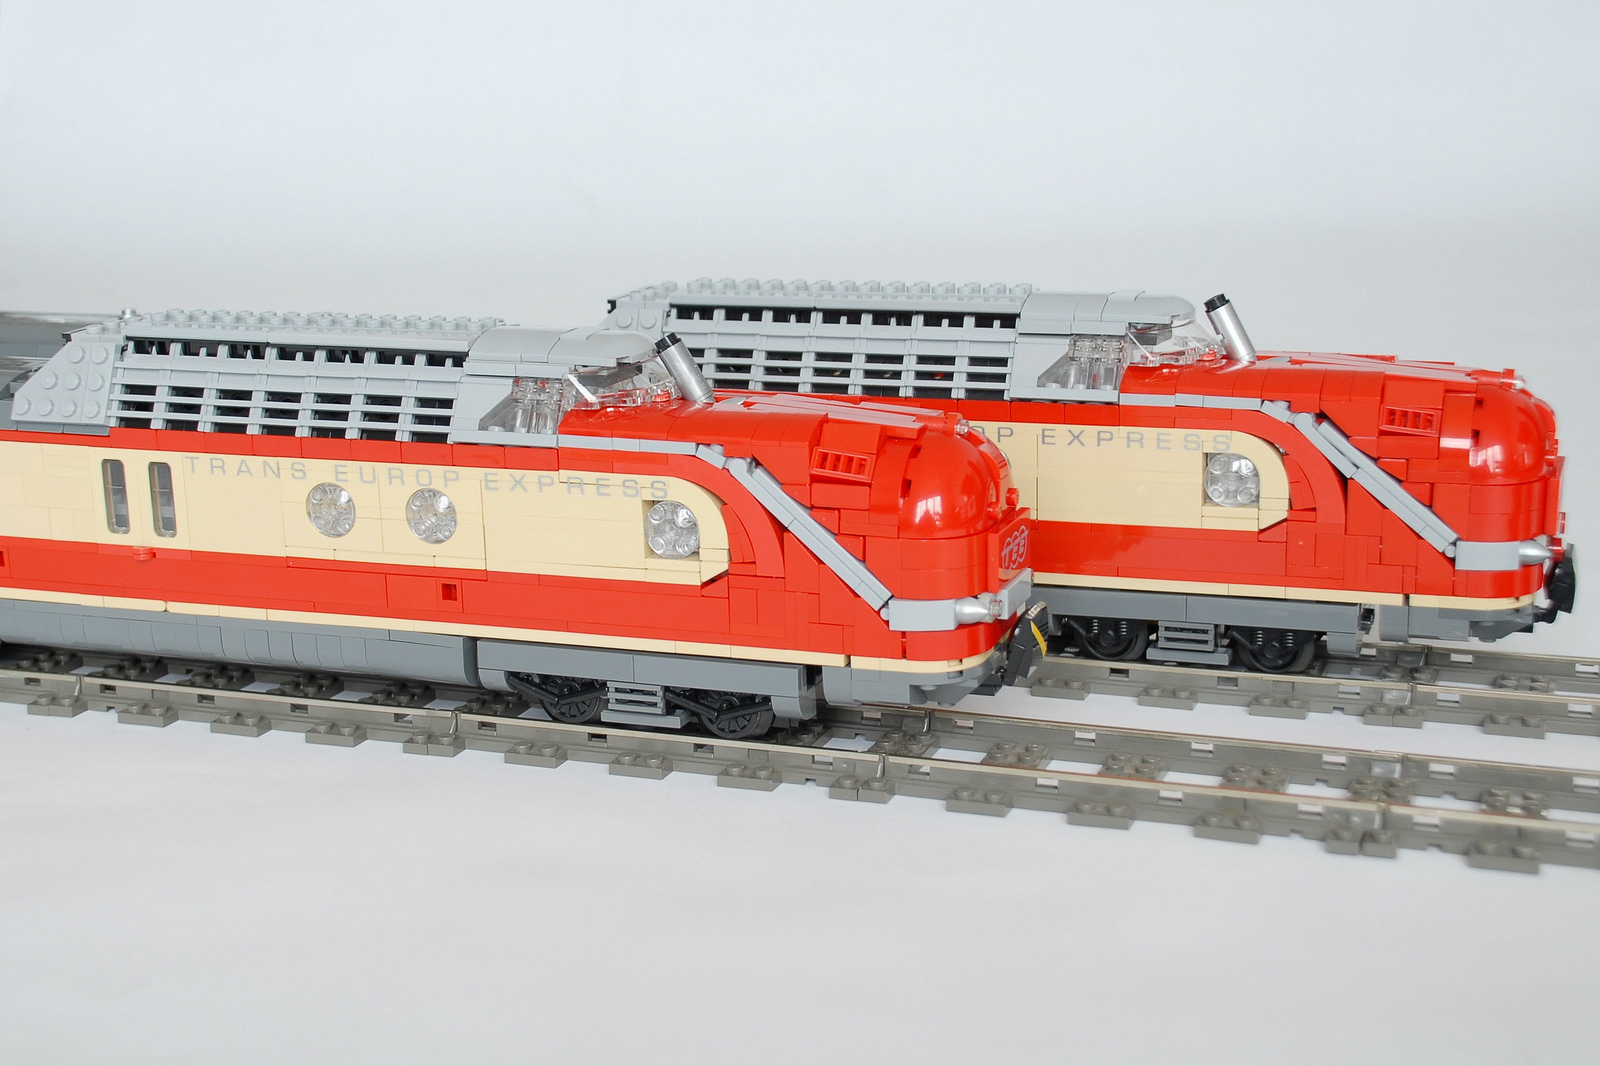
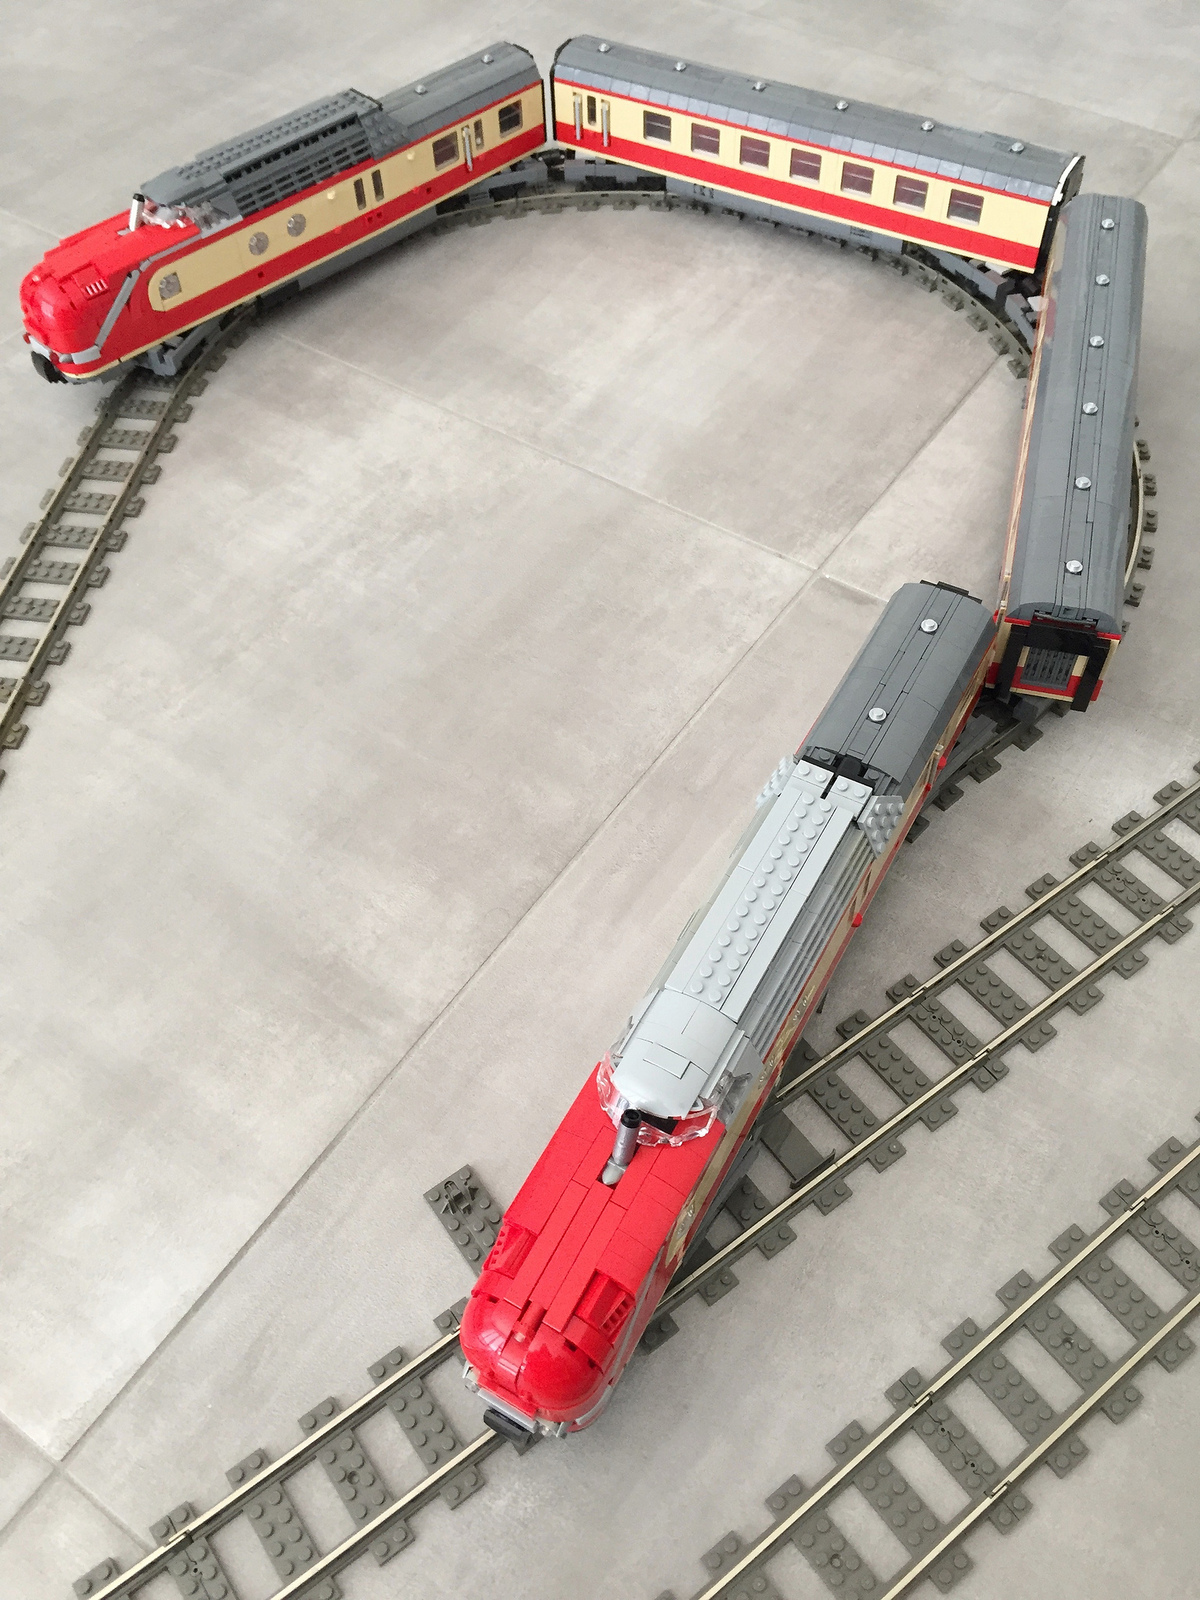
The famous diesel multiple unit VT 11.5 Trans Europ Express (TEE) was on my wishlist for a long time. In late summer 2018 I was able to finalise this project.
VT 11.5 Trans Europ Express (TEE)
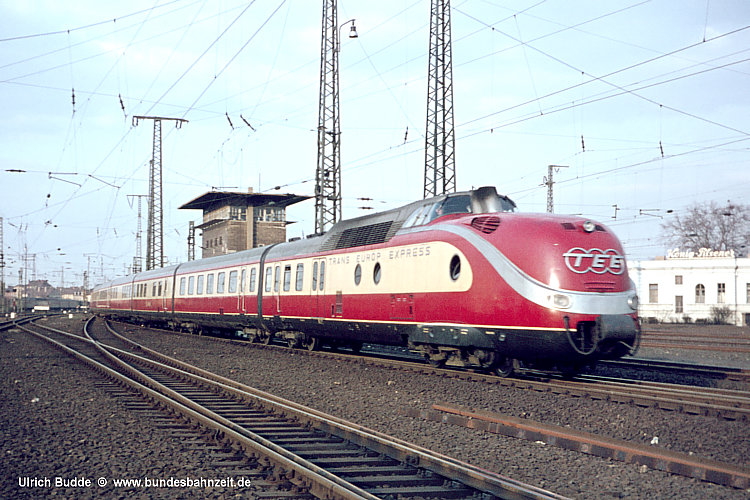
The prototype DB Class VT 11.5 was in service between 1957 and 1988 on rails in Germany and Europe.
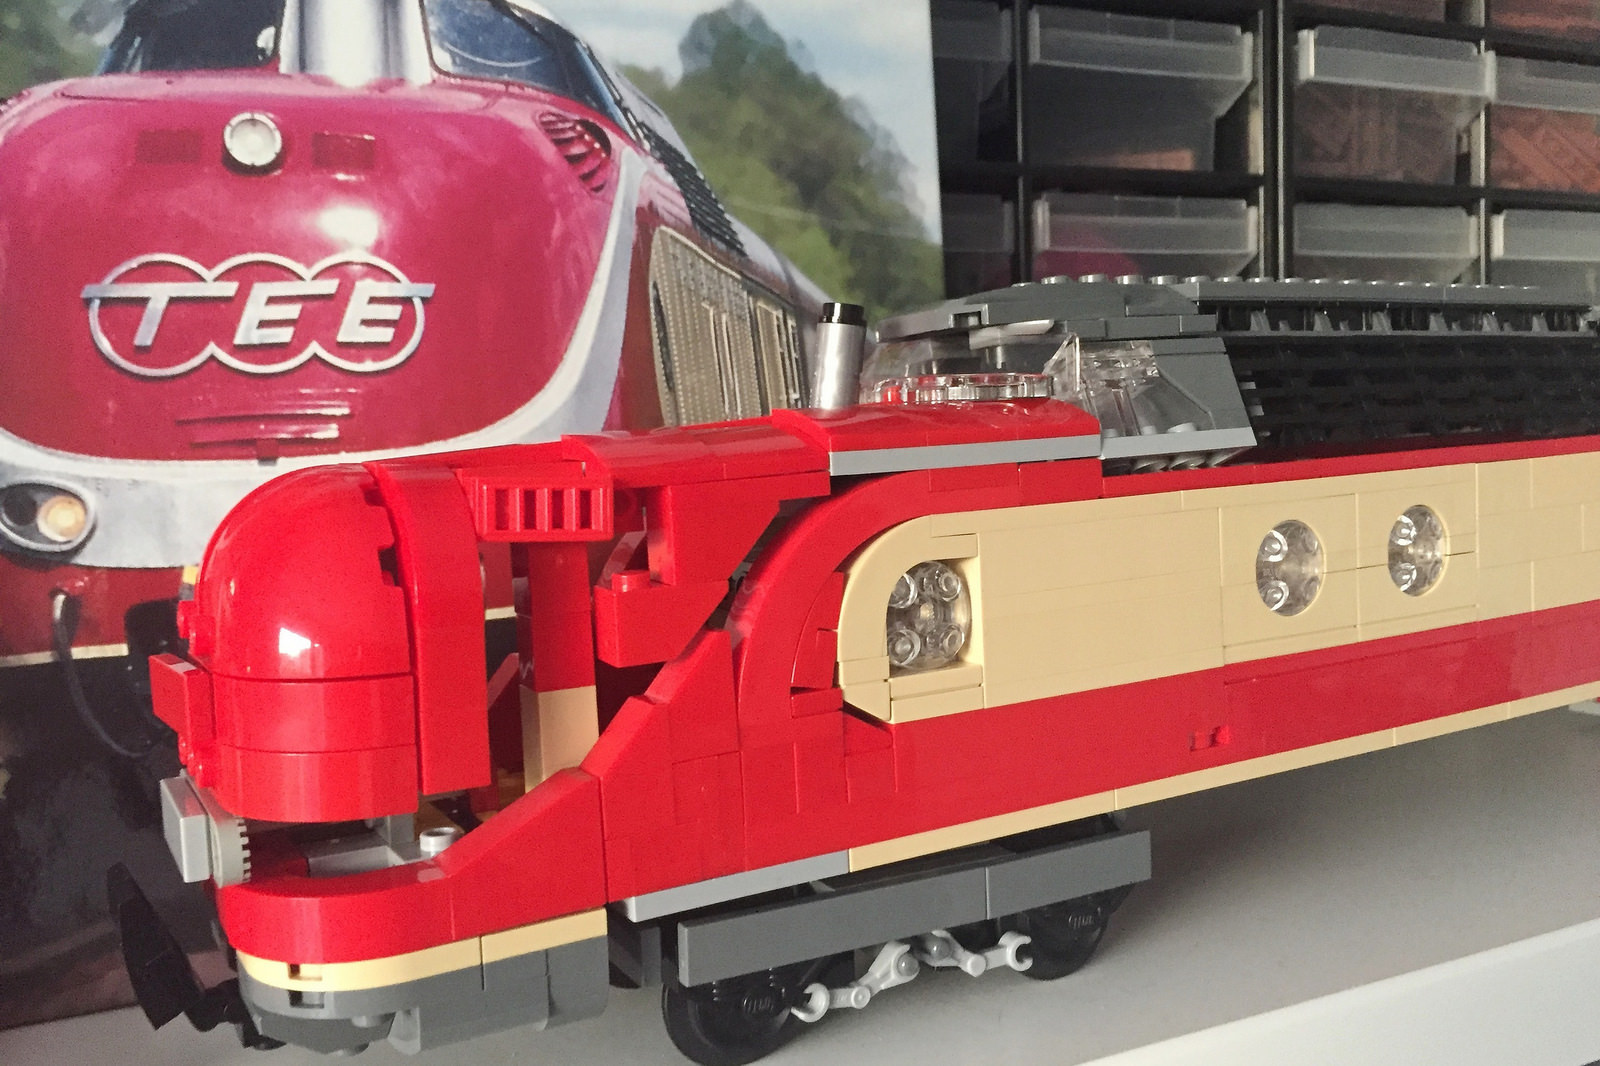
Thanks to Ulrich Budde (www.bundesbahnzeit.de) who allowed me to use his photograph.
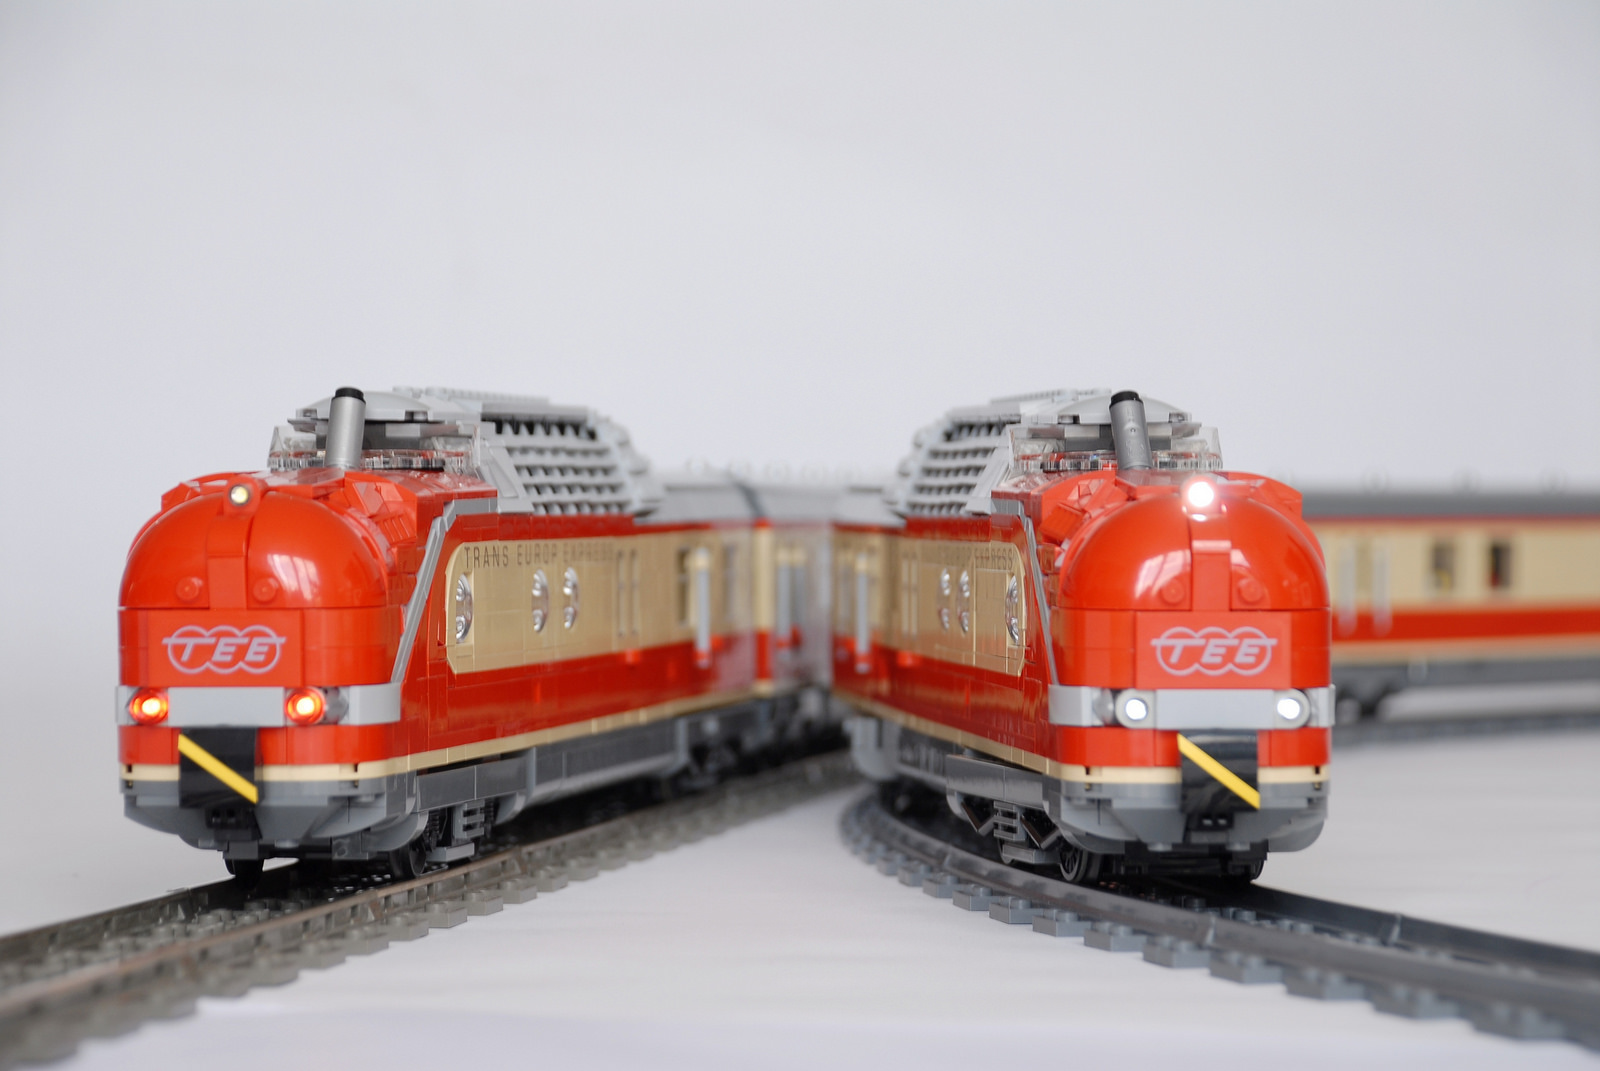
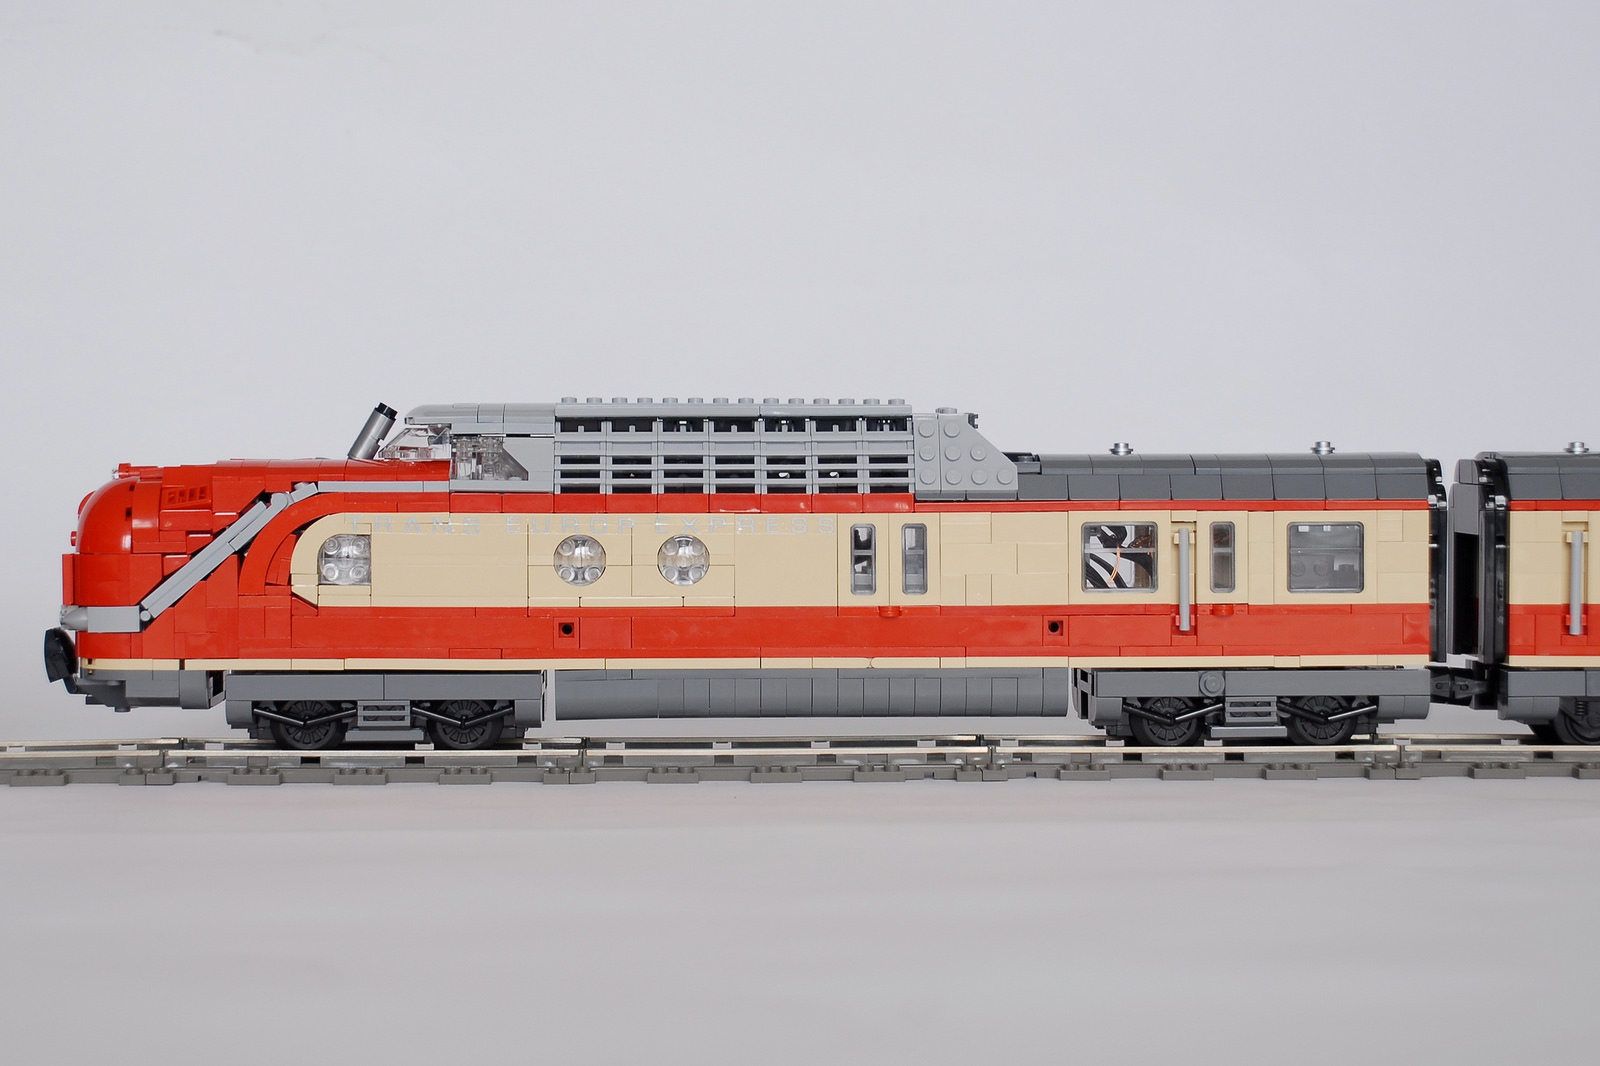
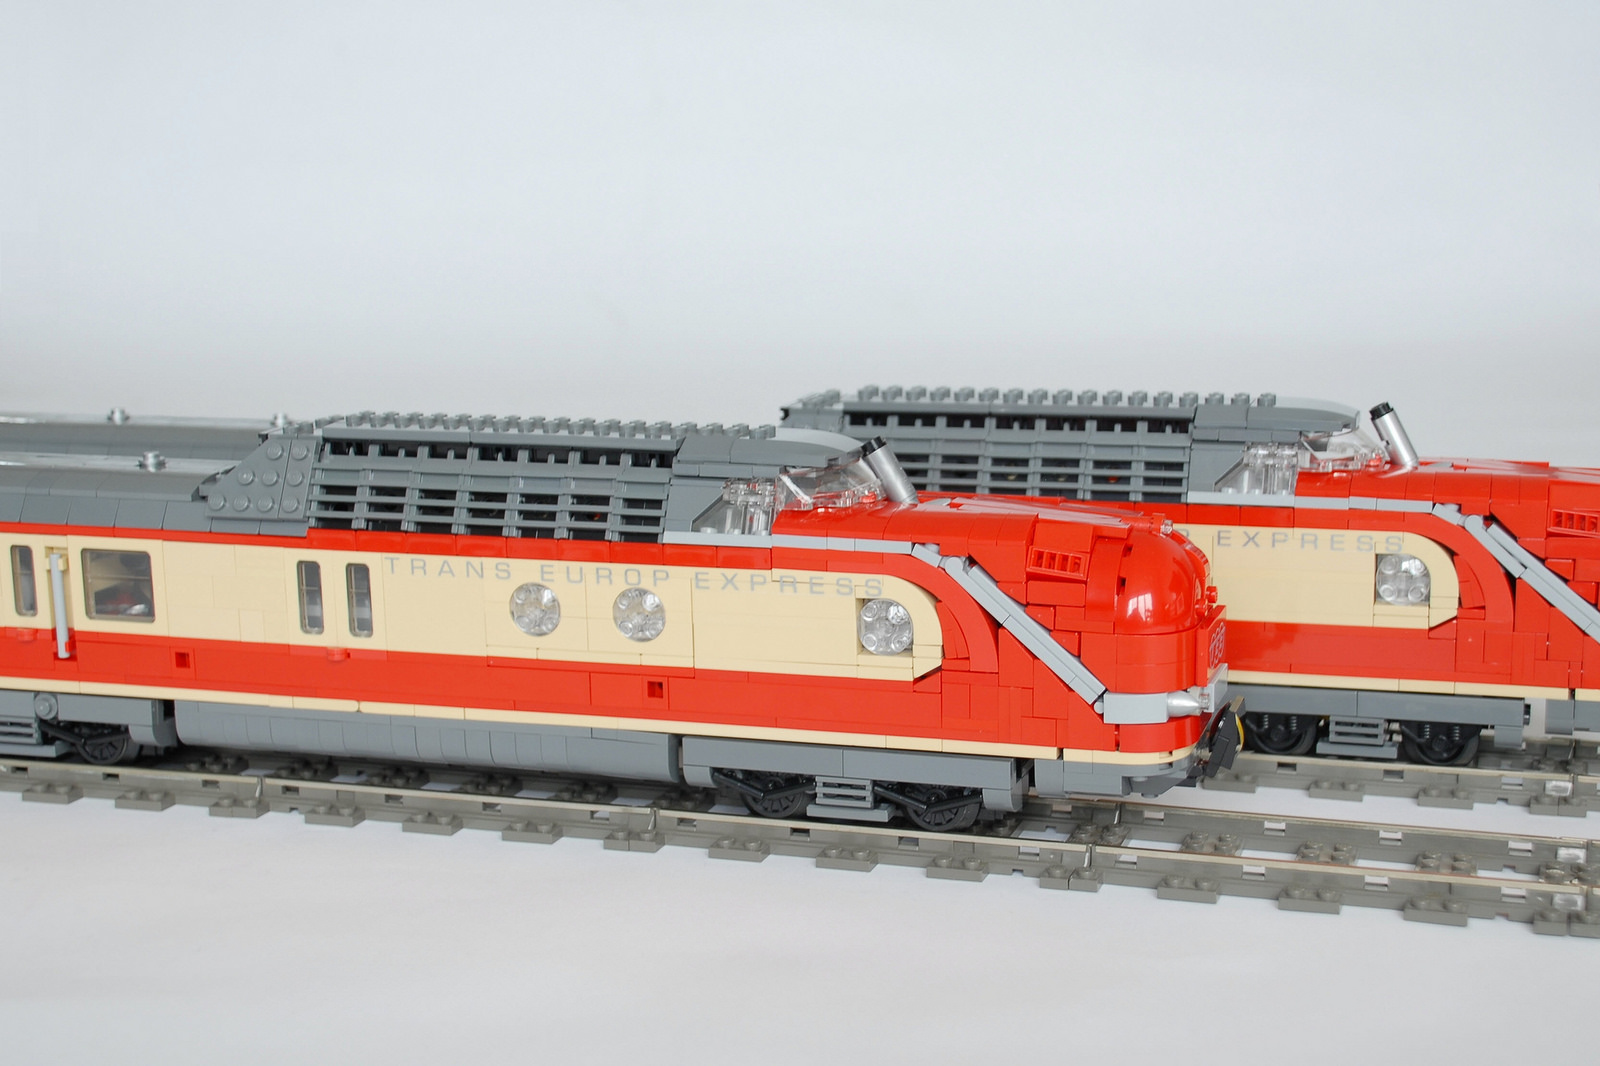
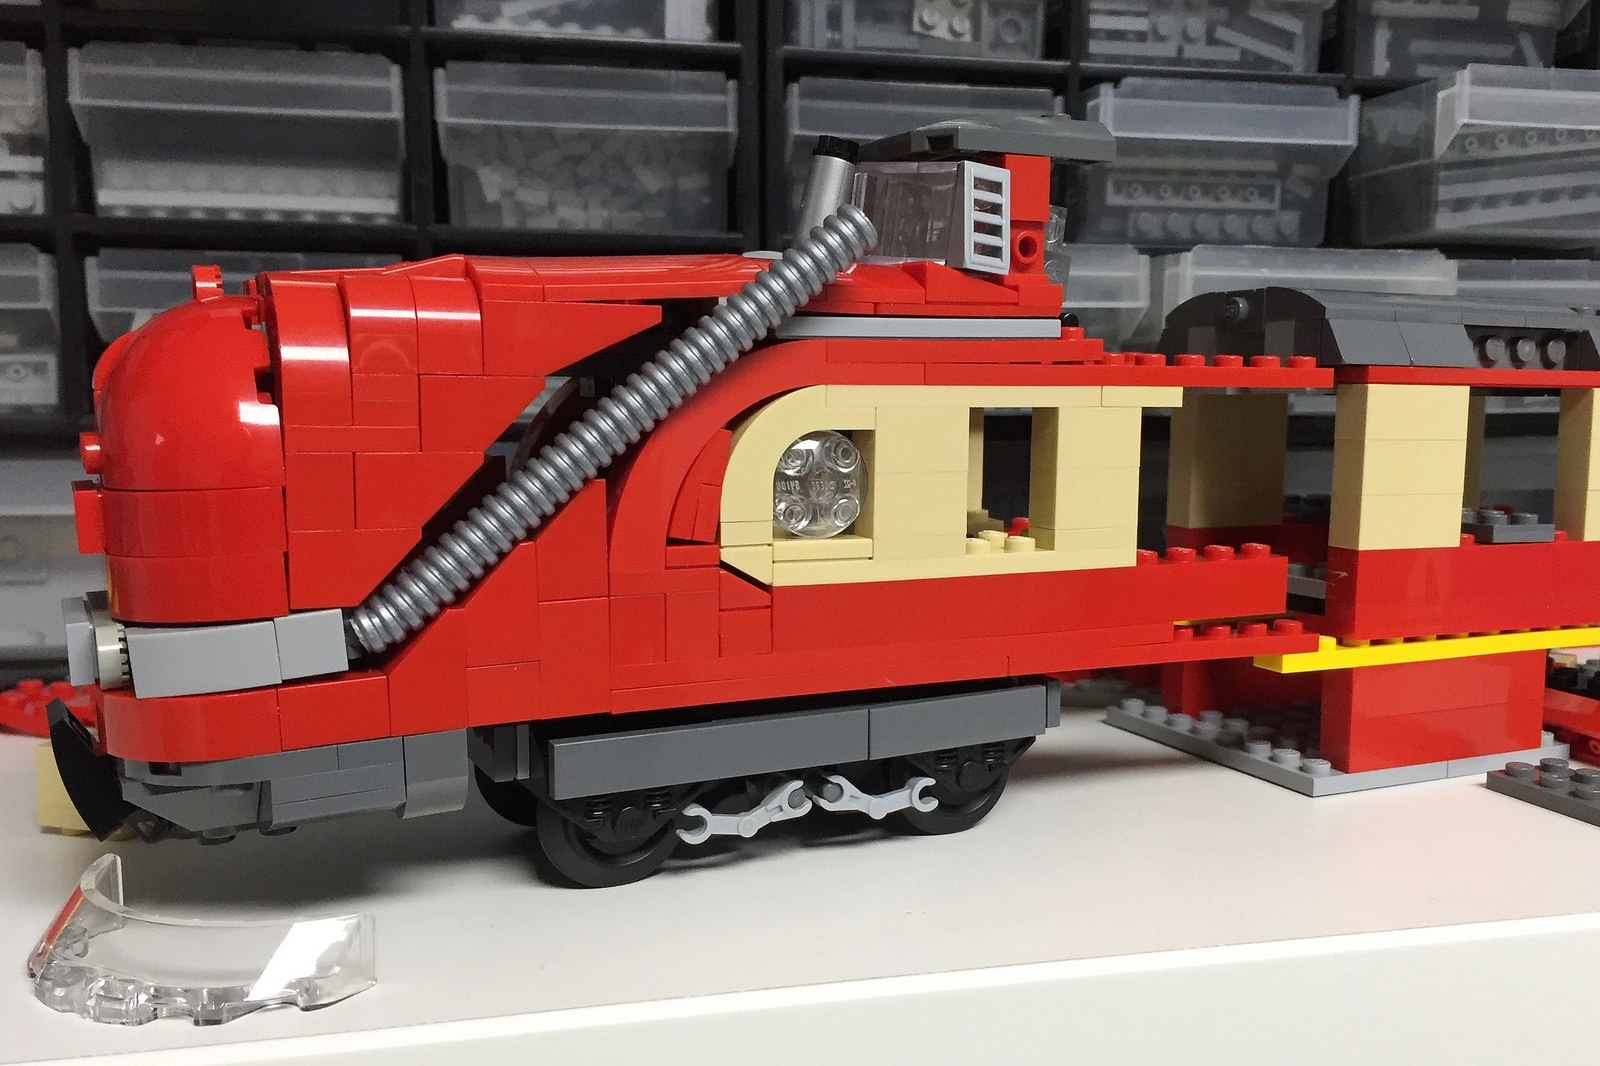
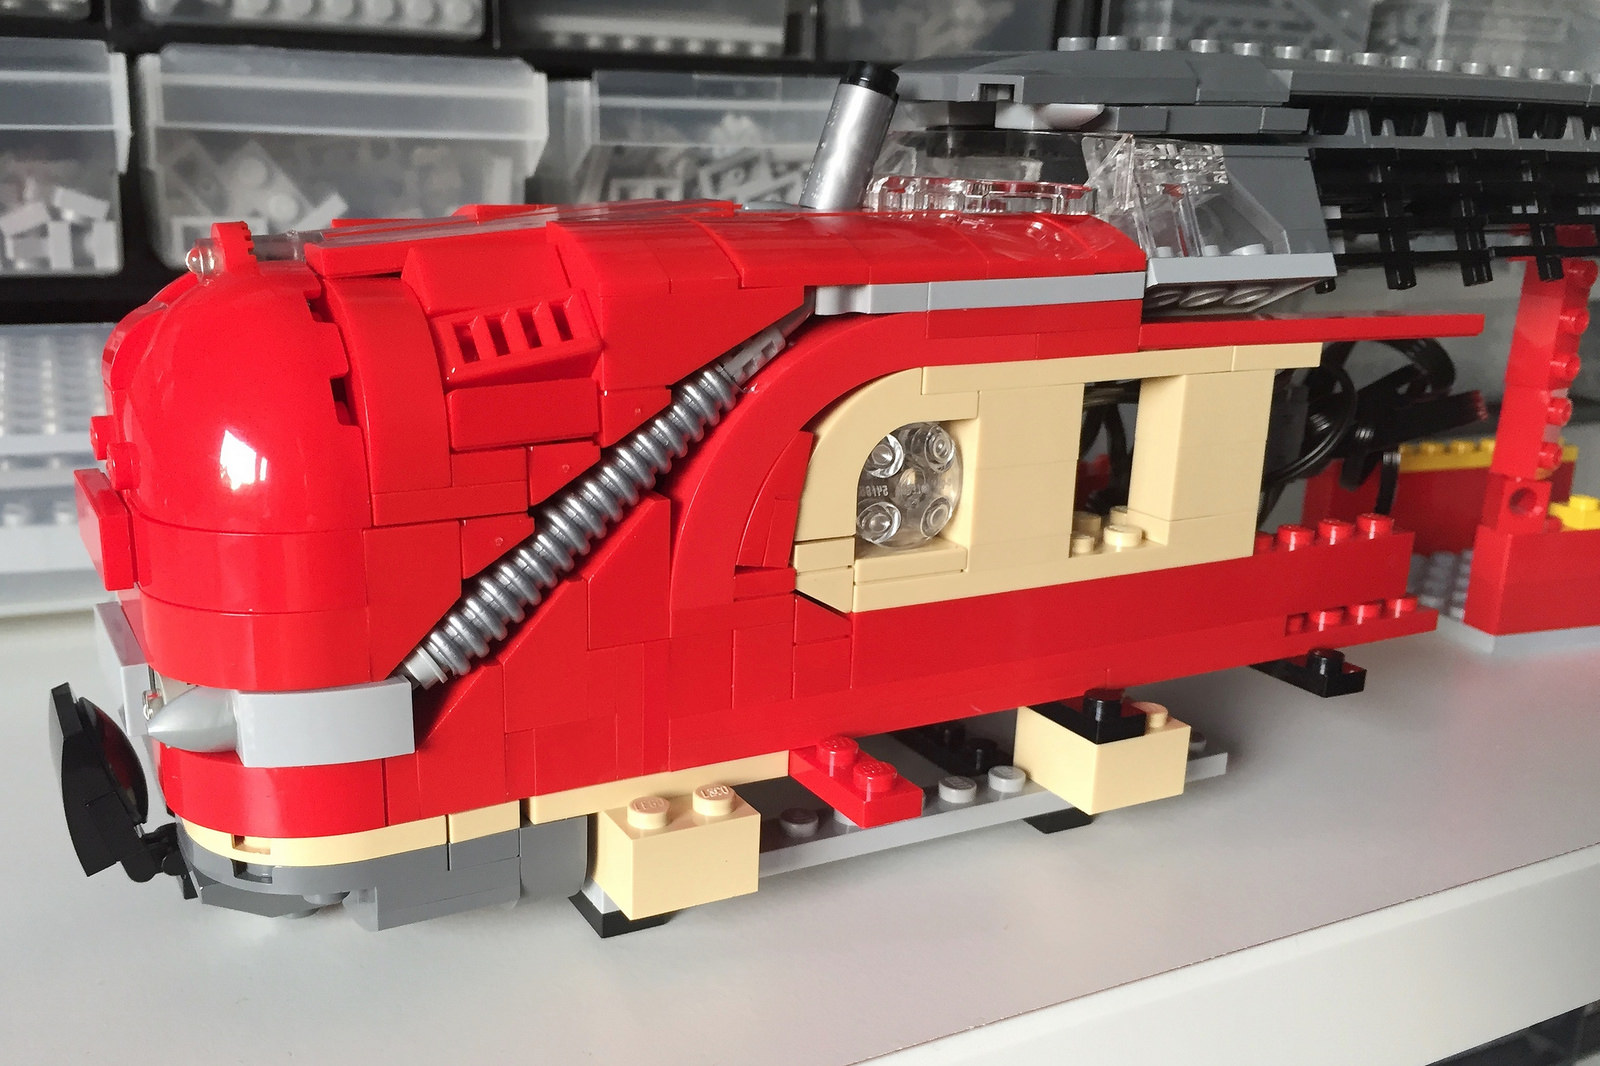
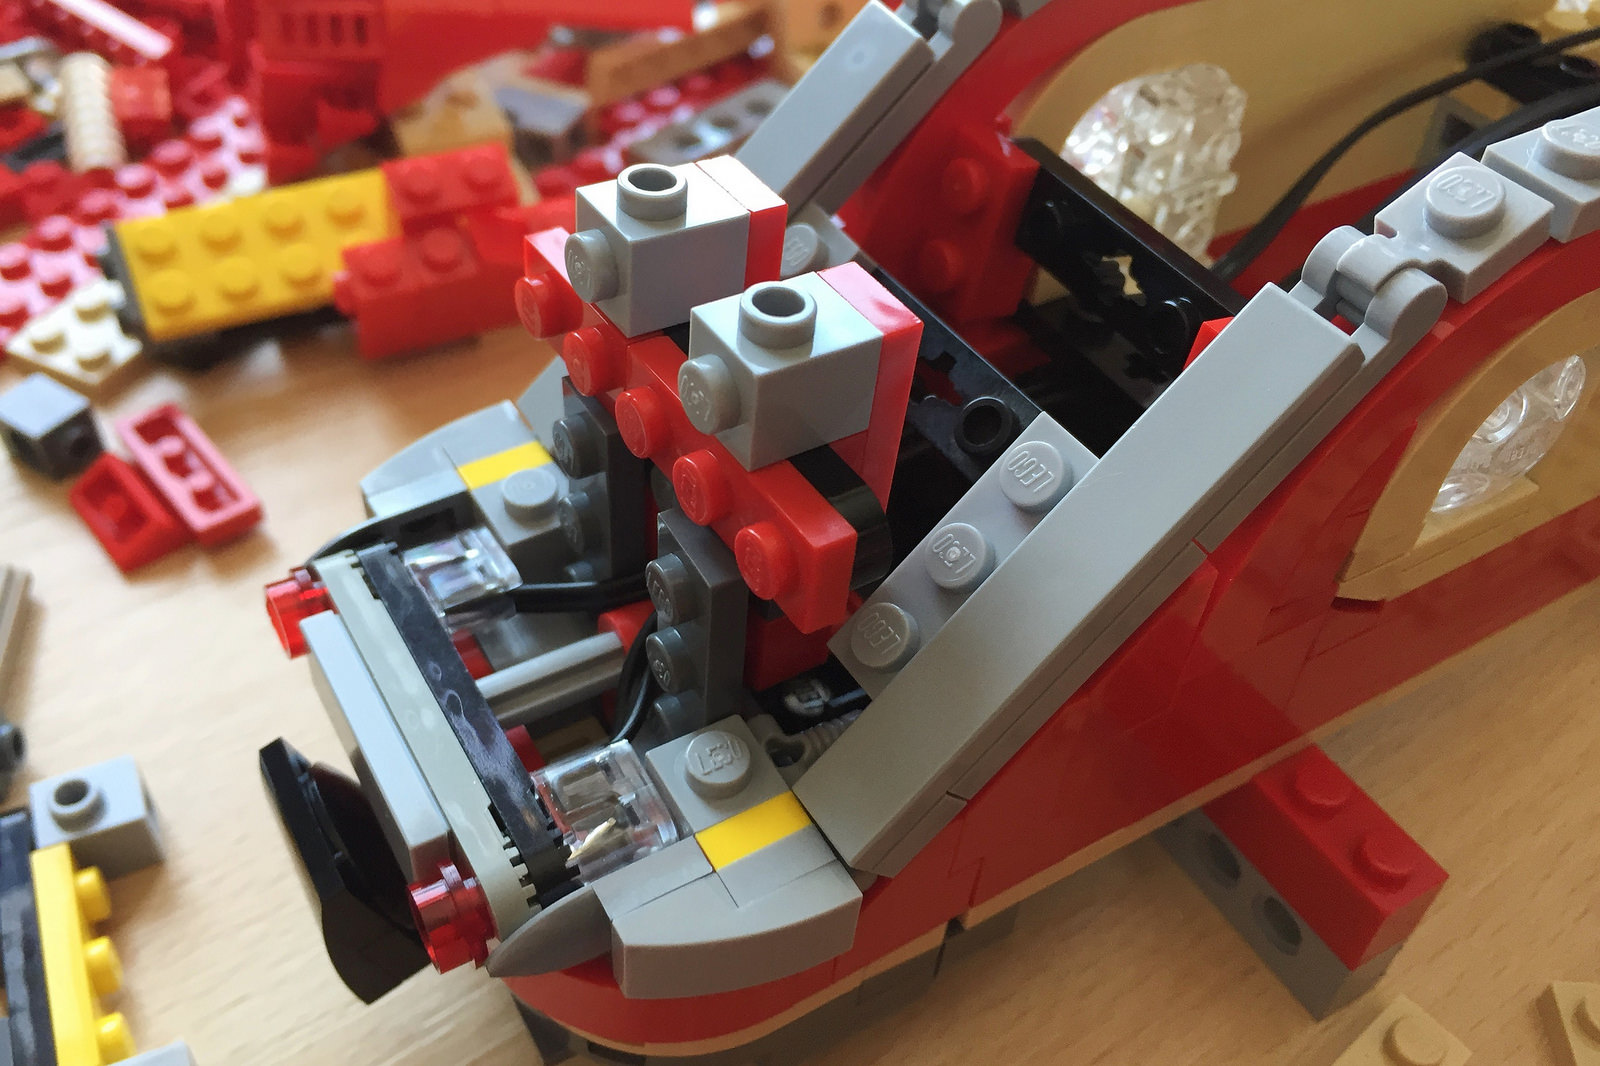
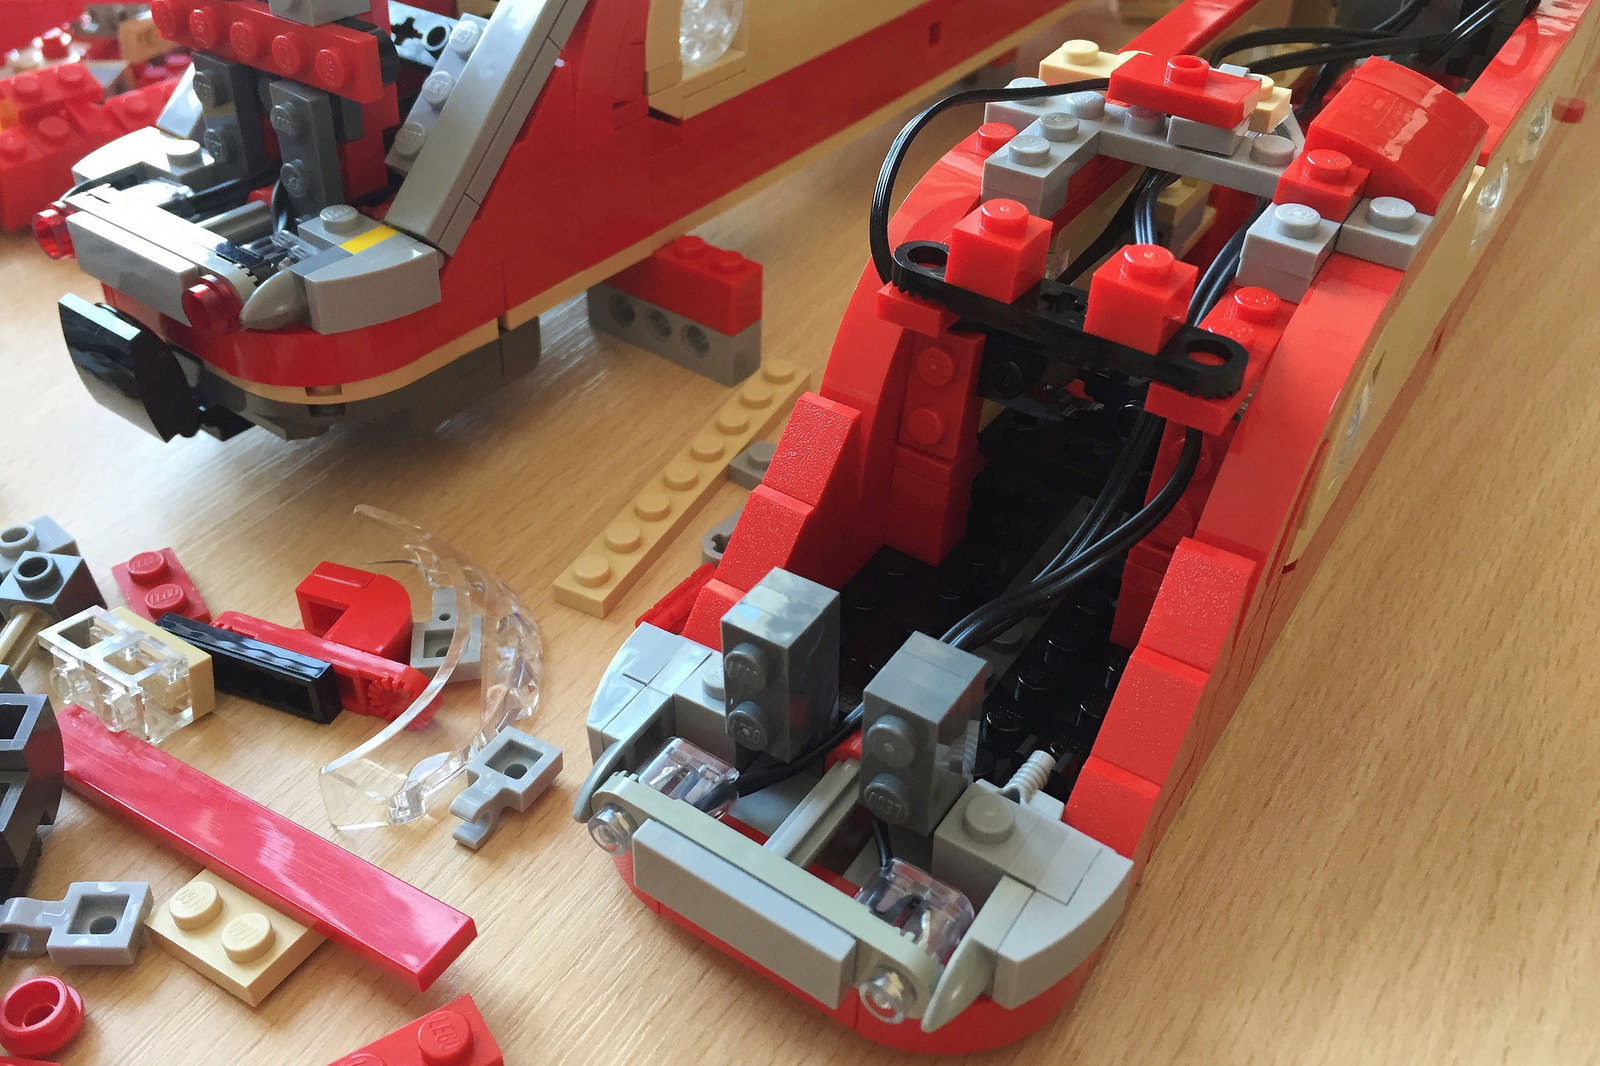
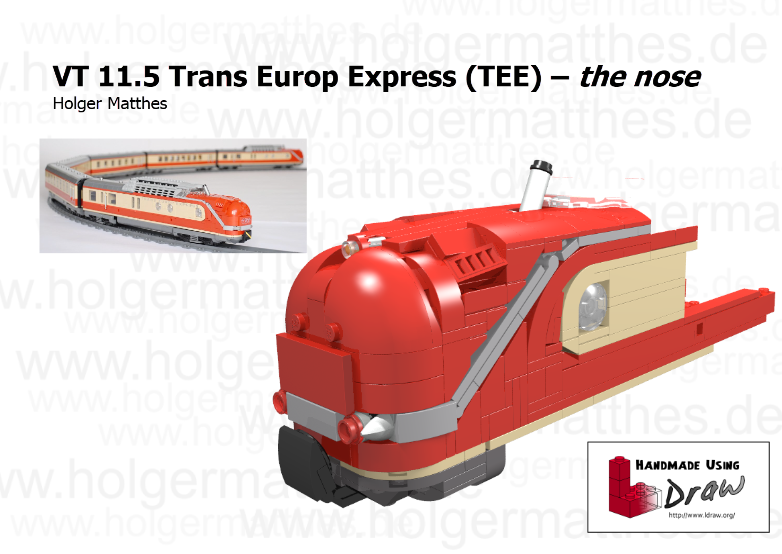
It started all with the idea to use two Brick, Round Corner 3 x 3 x 2 Dome Top for the characteristic nose of the engine units. A much bigger challenge were the grey-silver stripe which swings from the lower front lights up to the driver's cabin. For a long time I favoured a solution using rigid hoses, but it didn't work out and the hose did not "swing" (similar to the stripe of my ICE 3). So I ended with the plate variant, at least I did not build any steps.
I also realised the round bull's-eye windows. The first one has to be located as close as possible to the beginning of the tan section. So the arched brick helped here. We still miss an element which fits between the Brick, Arch 1 x 3 x 2 Curved Top and the larger Brick, Arch 1 x 6 x 3 1/3 Curved Top in red. But I found a solution using curved solpes covering most of that gap using Slope, Curved 2 x 2 No Studs.
I am still stuggling with the right colour of the roof section behind the driver's cabin. Originally it should be light bluish grey (same colour as the stripe). But in real live all the grime from the exhausts makes this roof look more dark/dirty. So I also build a dark bluish grey variant. Both can be swaped easily and this feature allows easy access to the rechargeable battery box.
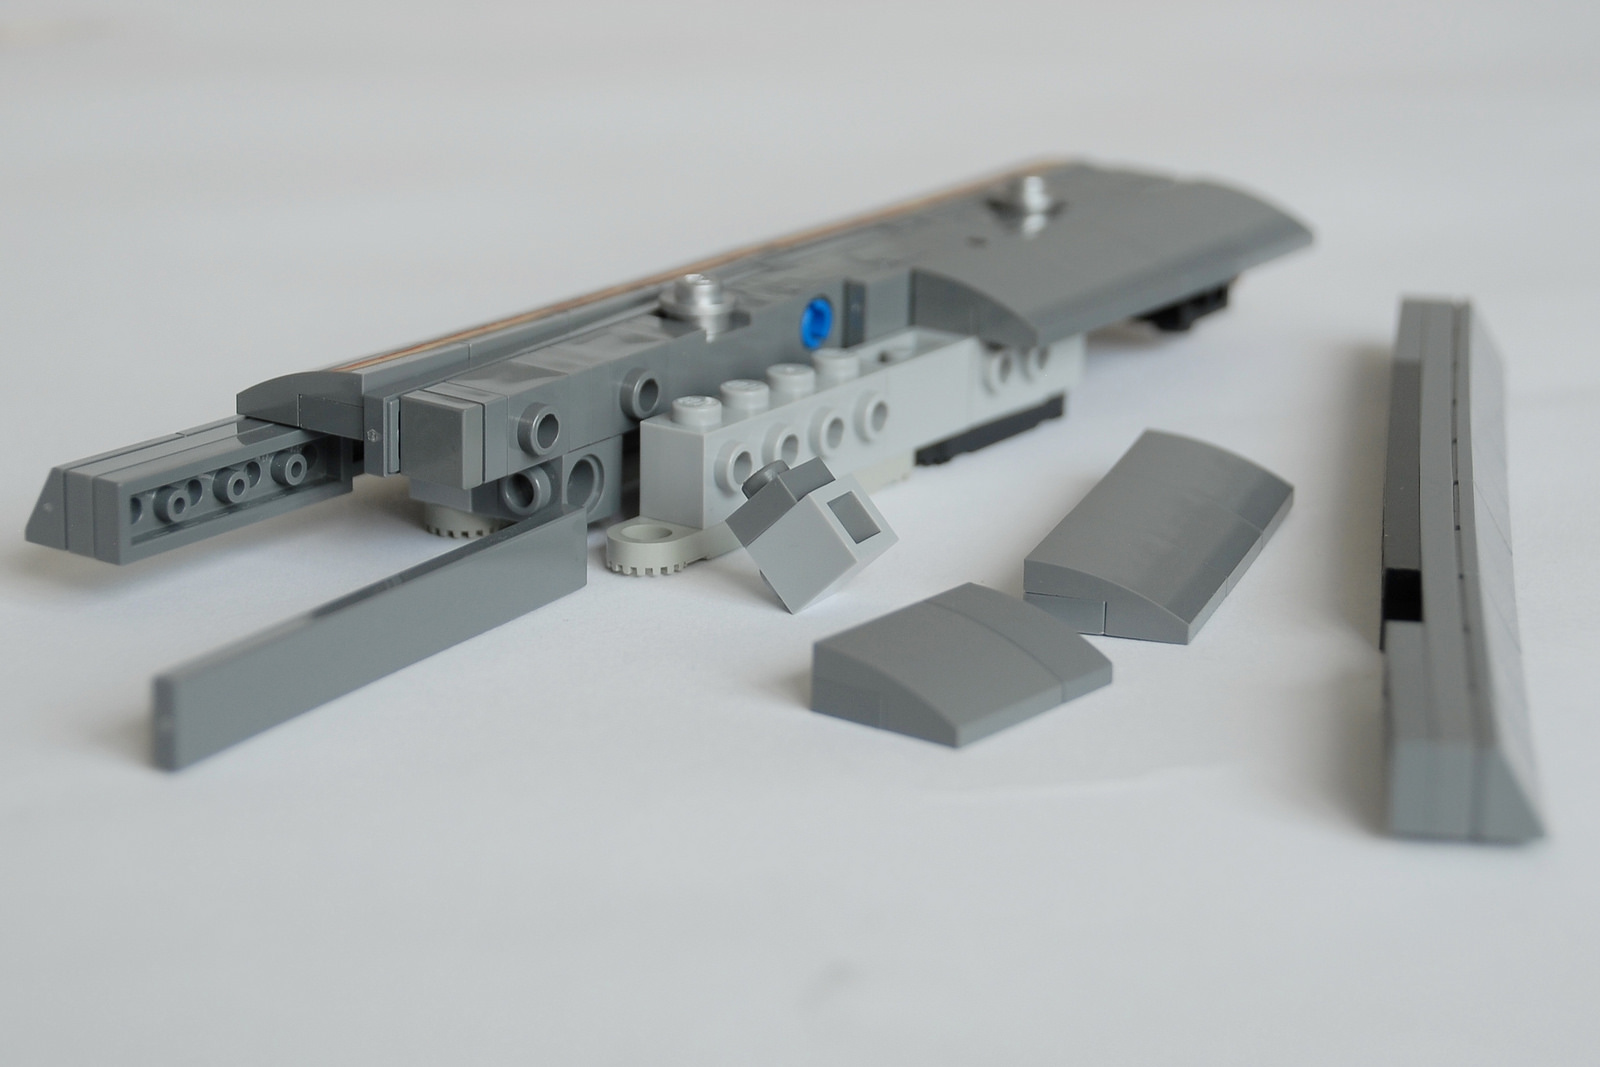
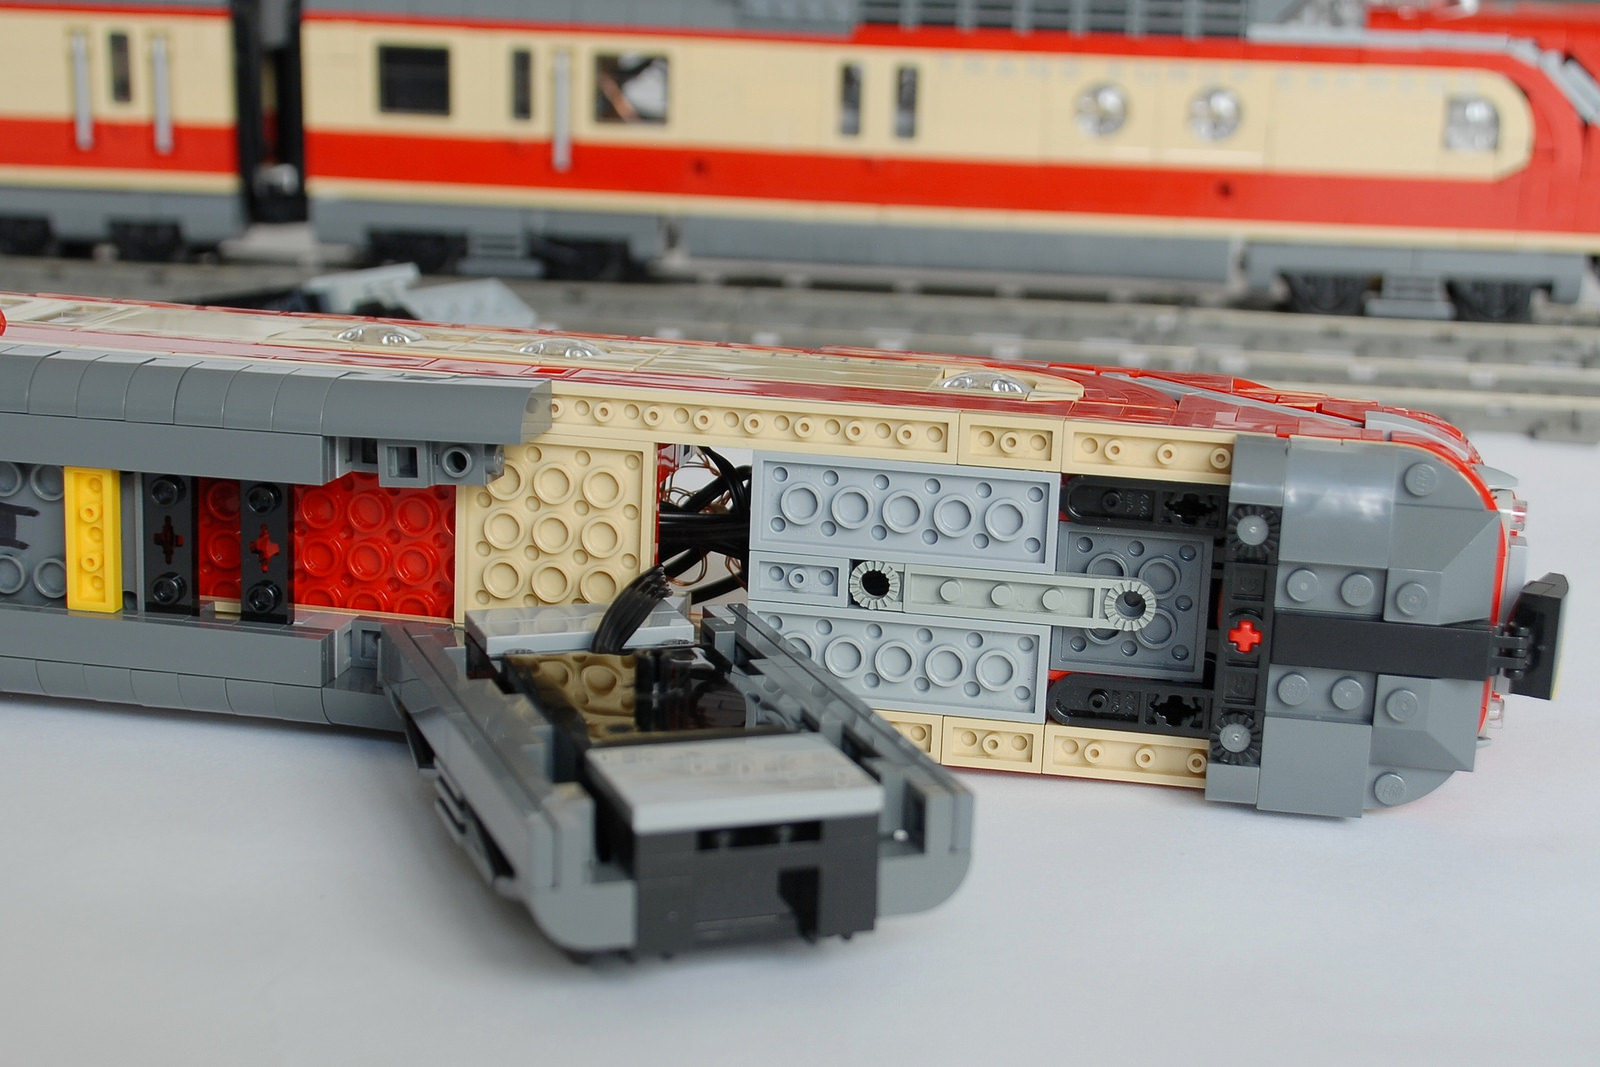
The rest of the roof also was a nice building experience using some SNOT. I wanted to use dopple-cheese pieces and curved slopes. And the roof should become 7 studs wide. That did not equal out fine so I had to use vertical tile on both sides of the middle brick column. The picture explains the rest of that SNOT nightmare …
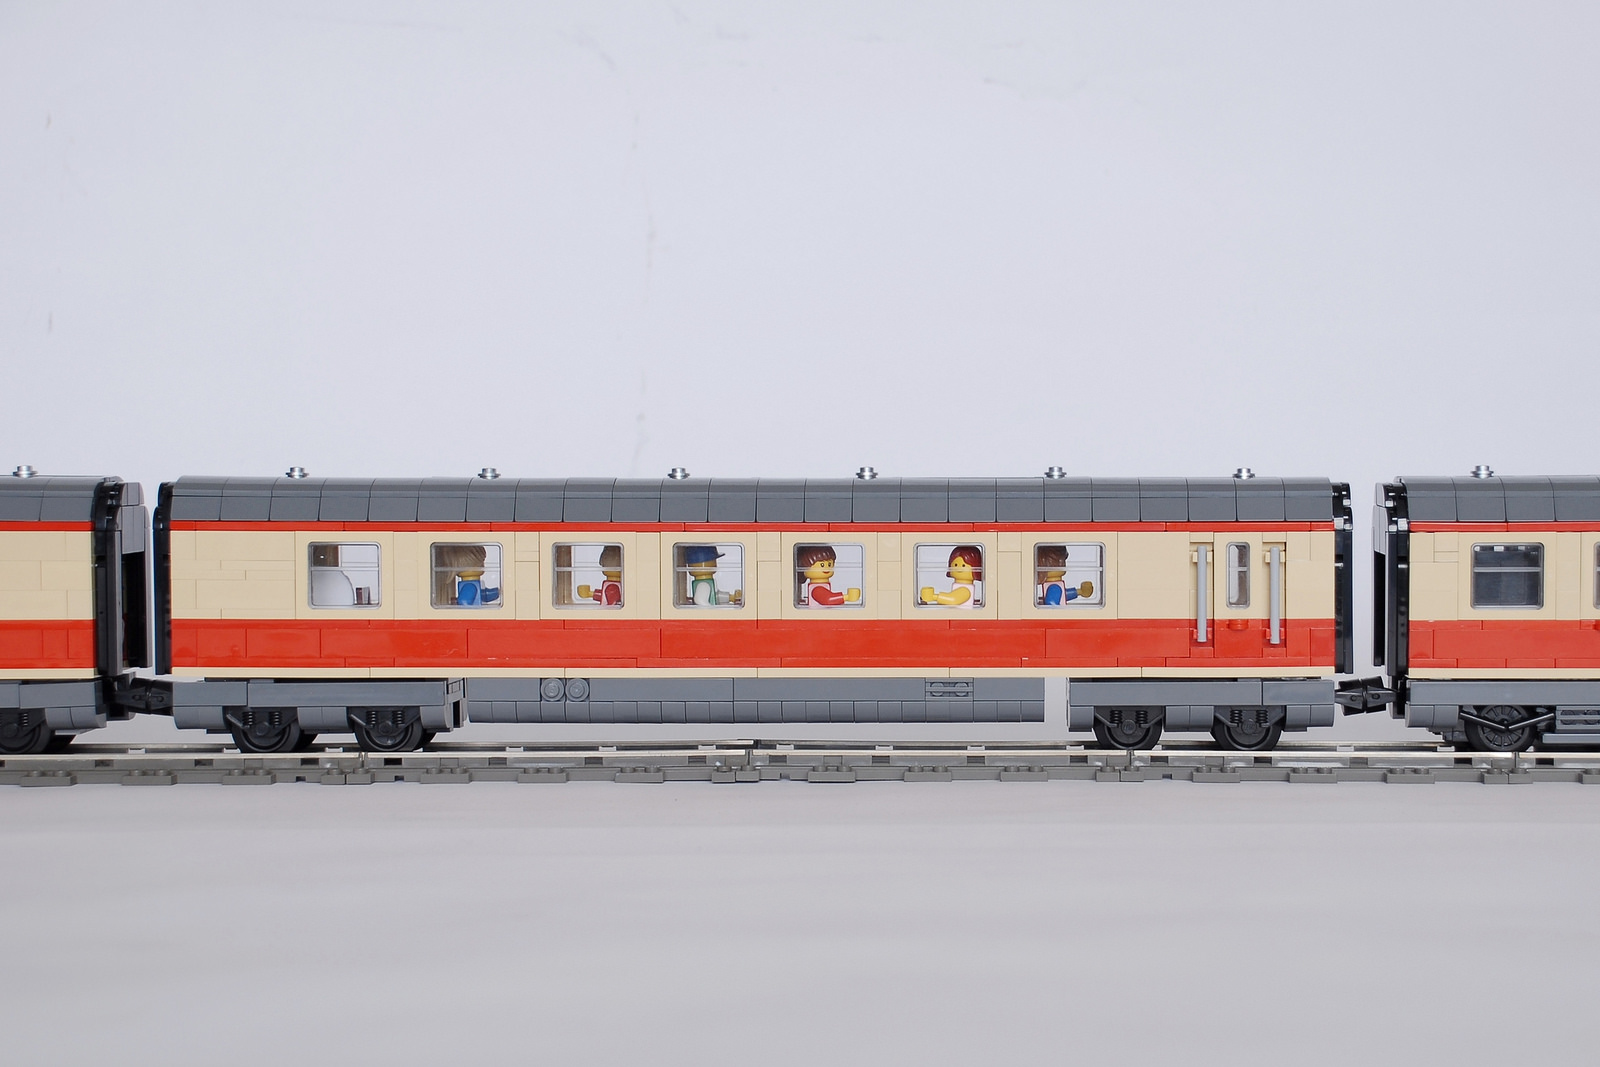
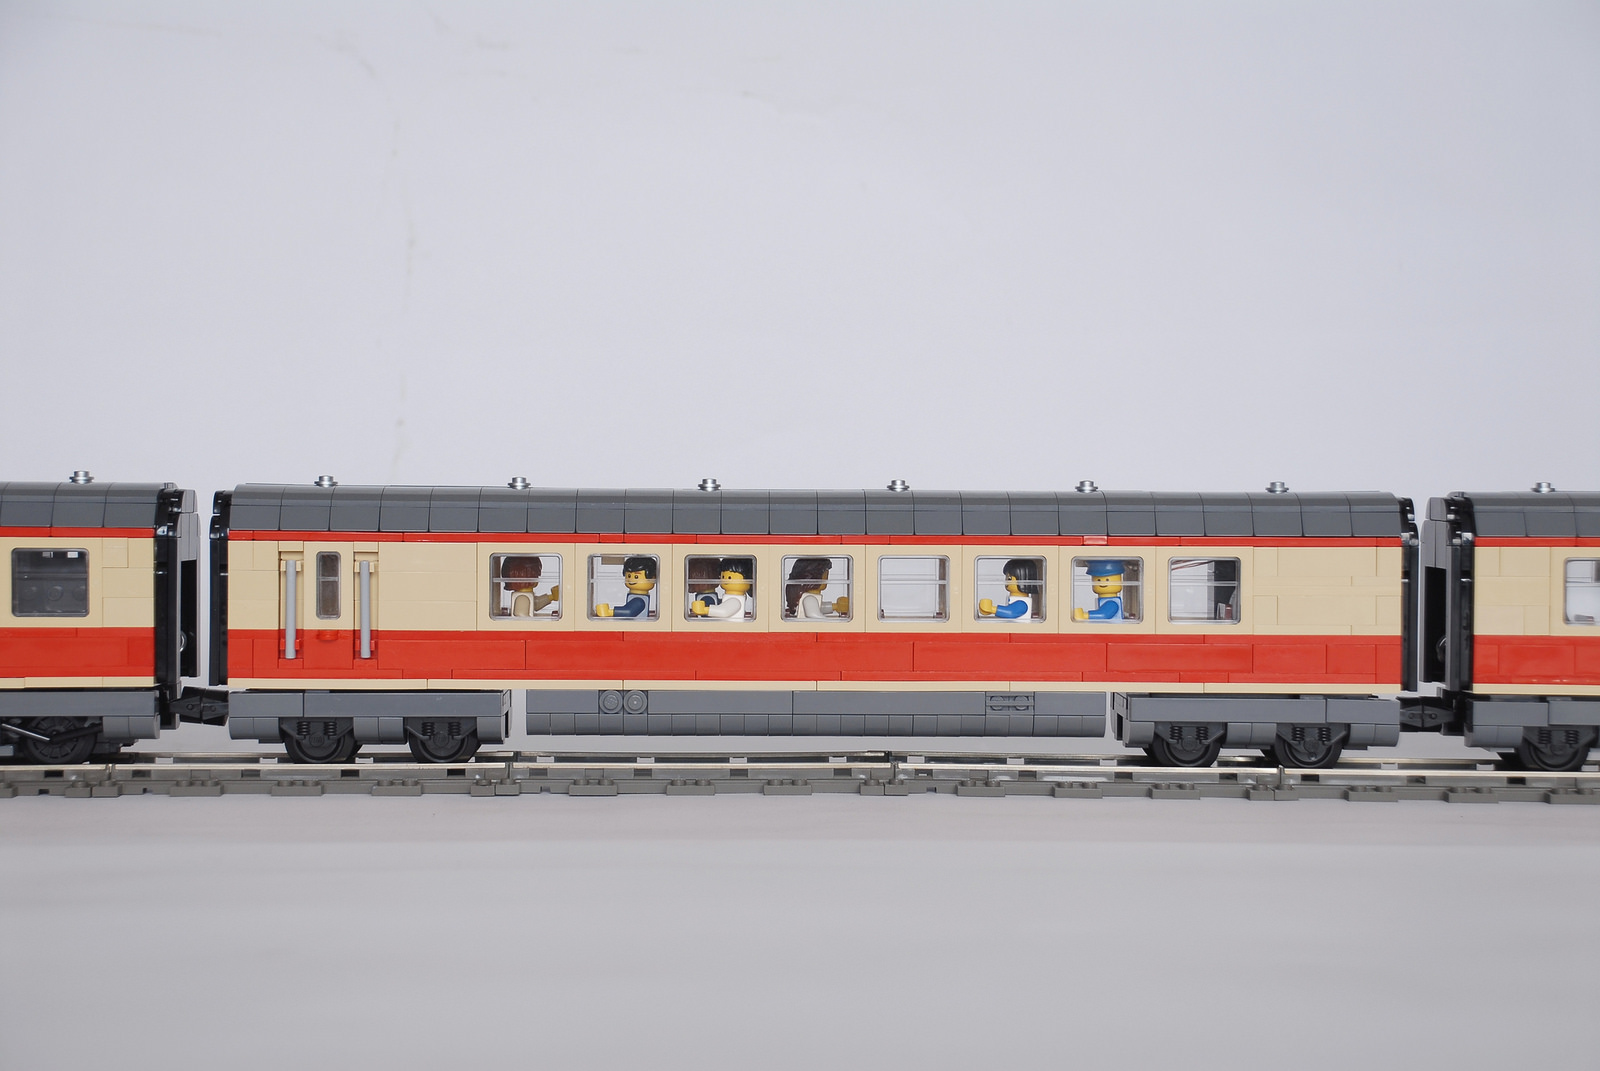
Each of the 4 middle units is 48 studs long (carriage body) and streamlined like the prototype. The arrangement of the windows varies, depending on whether it is a large-capacity, compartment or restaurant carriage.
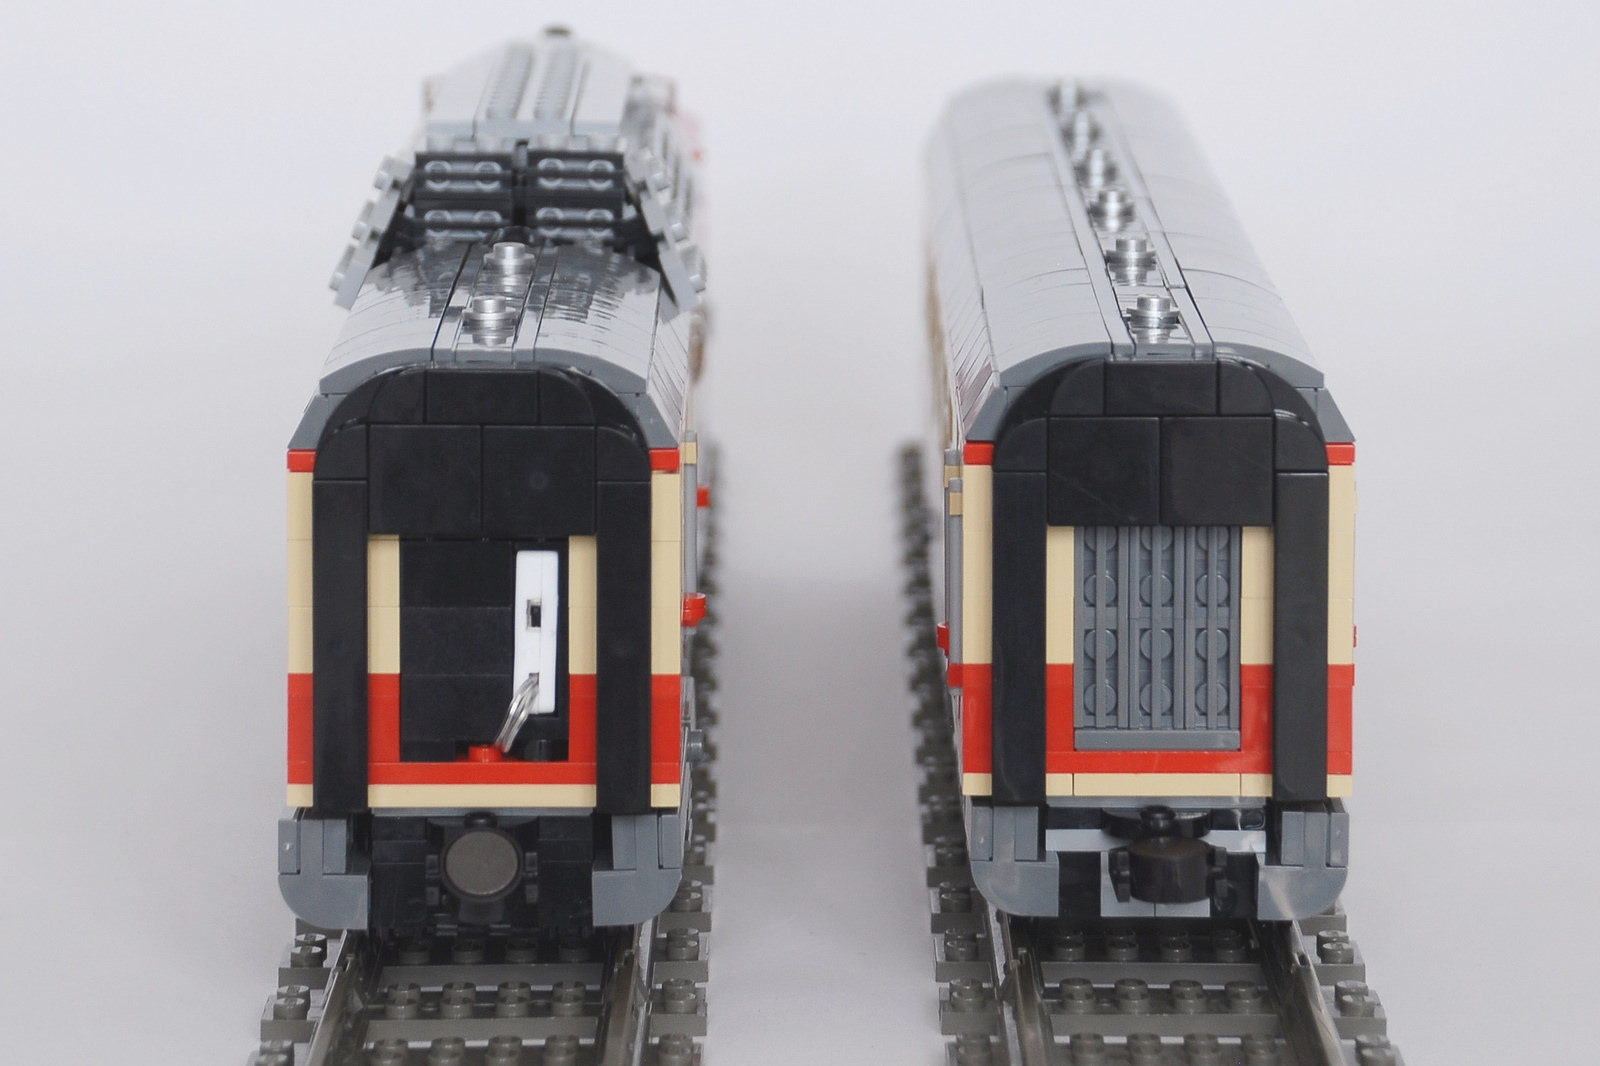
The bellow uses various newer parts like Plate, Round Corner 2 x 6 Double and Tile, Round 1 x 1 Quarter. On the left you can spot the battery/switch unit of the interior lighting.
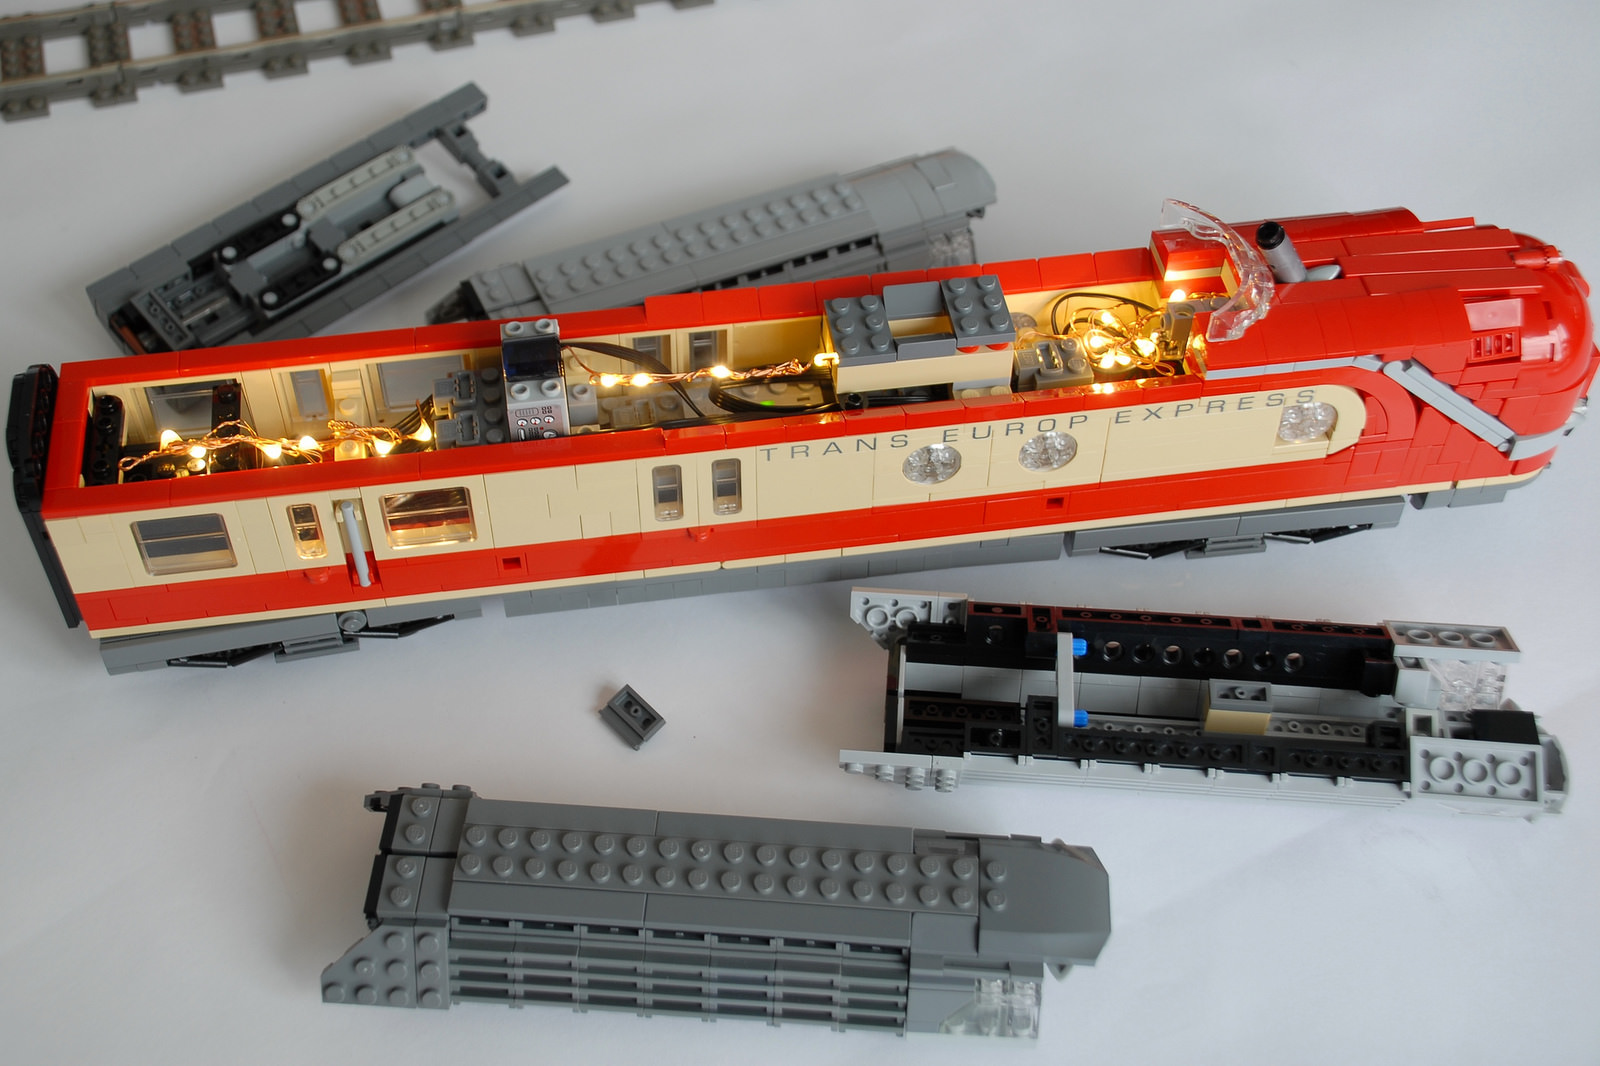
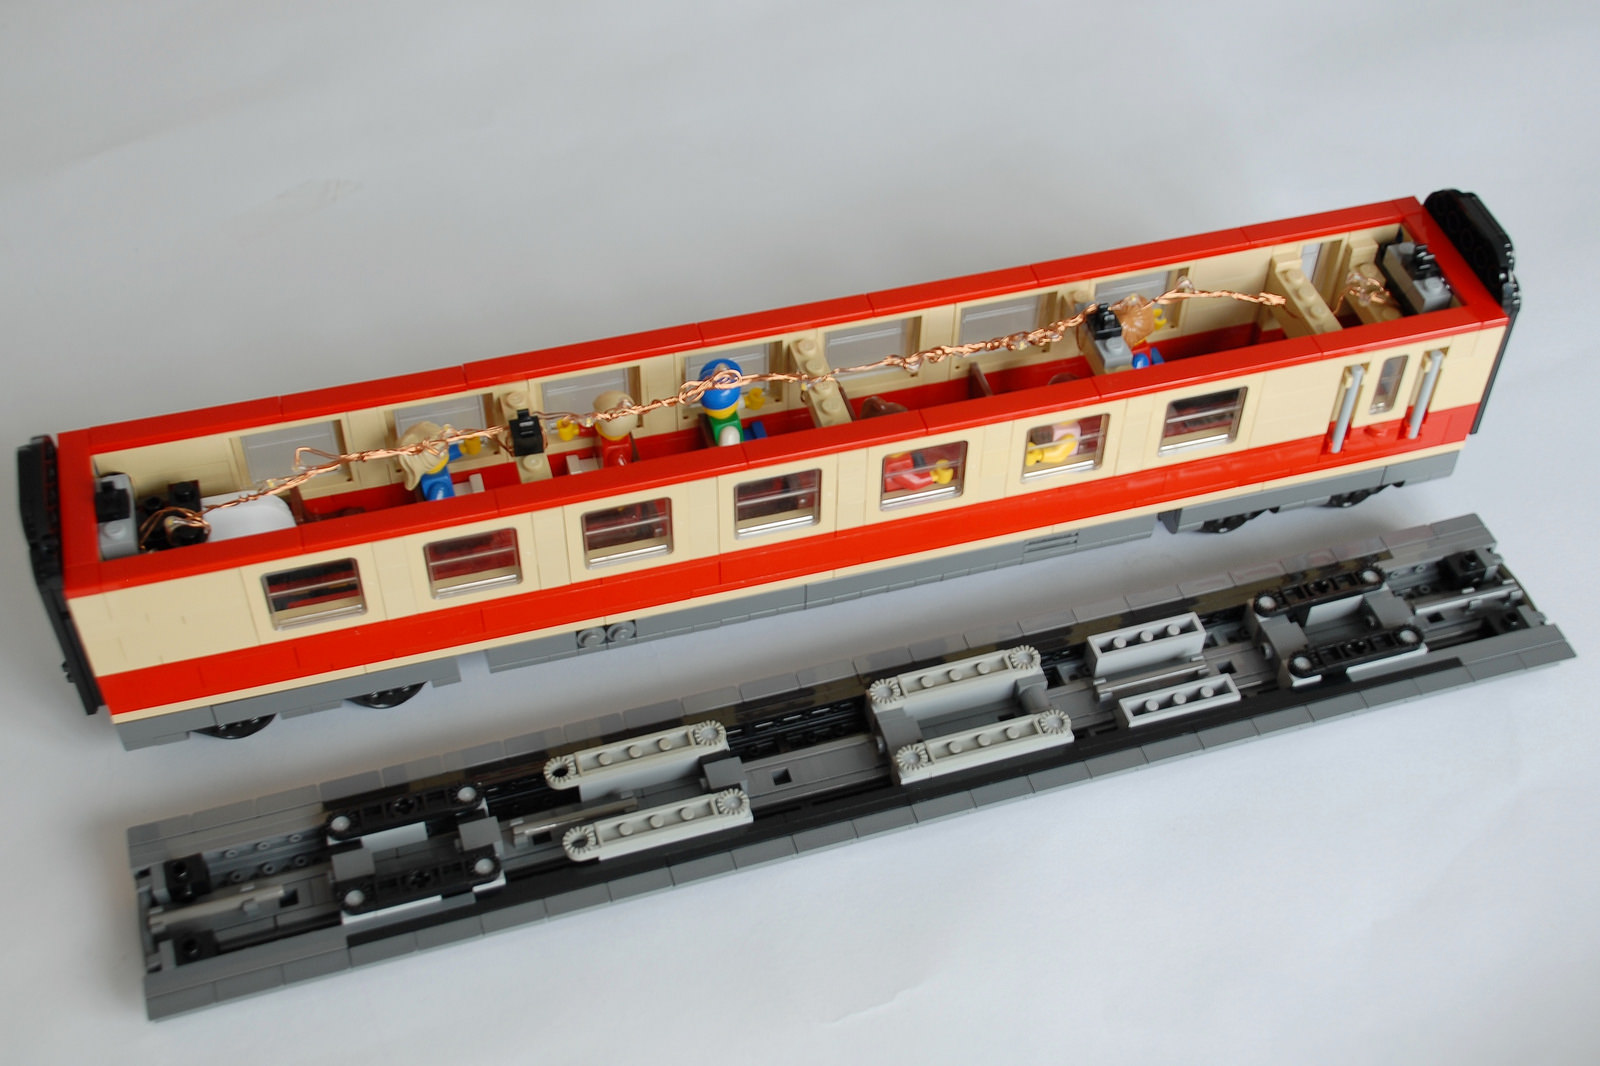
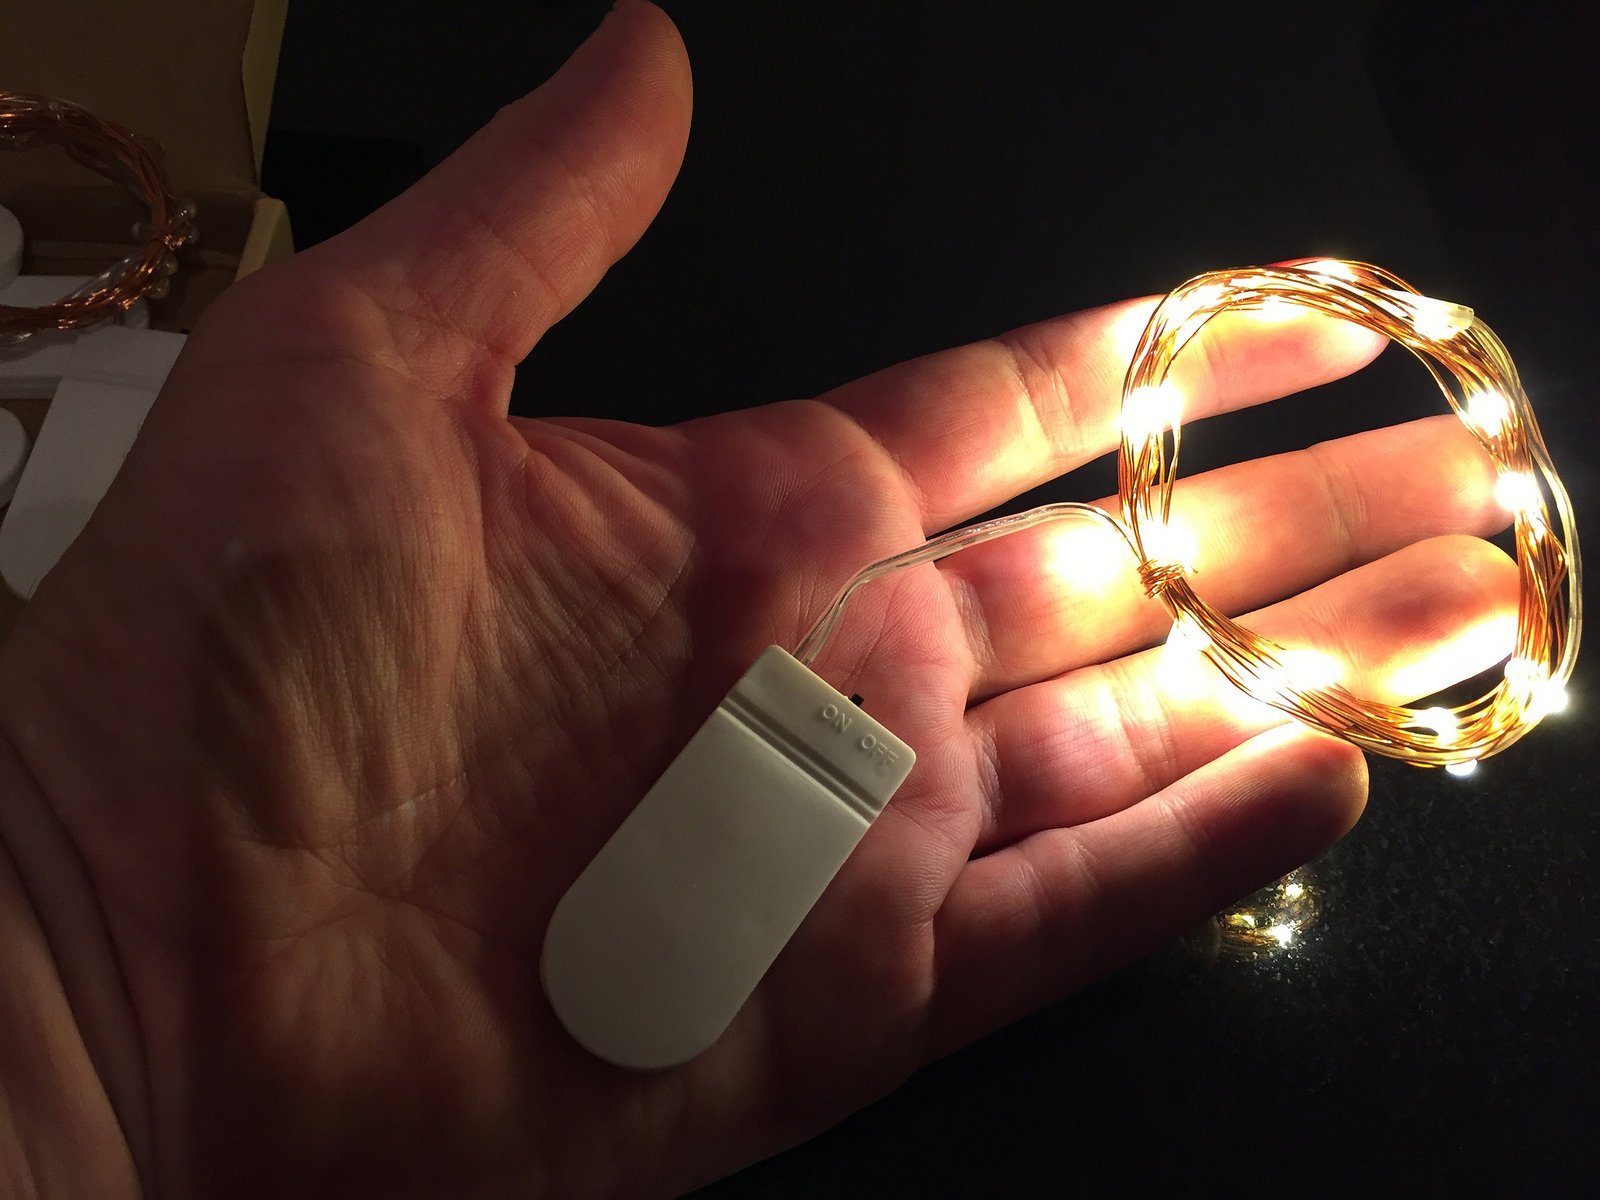
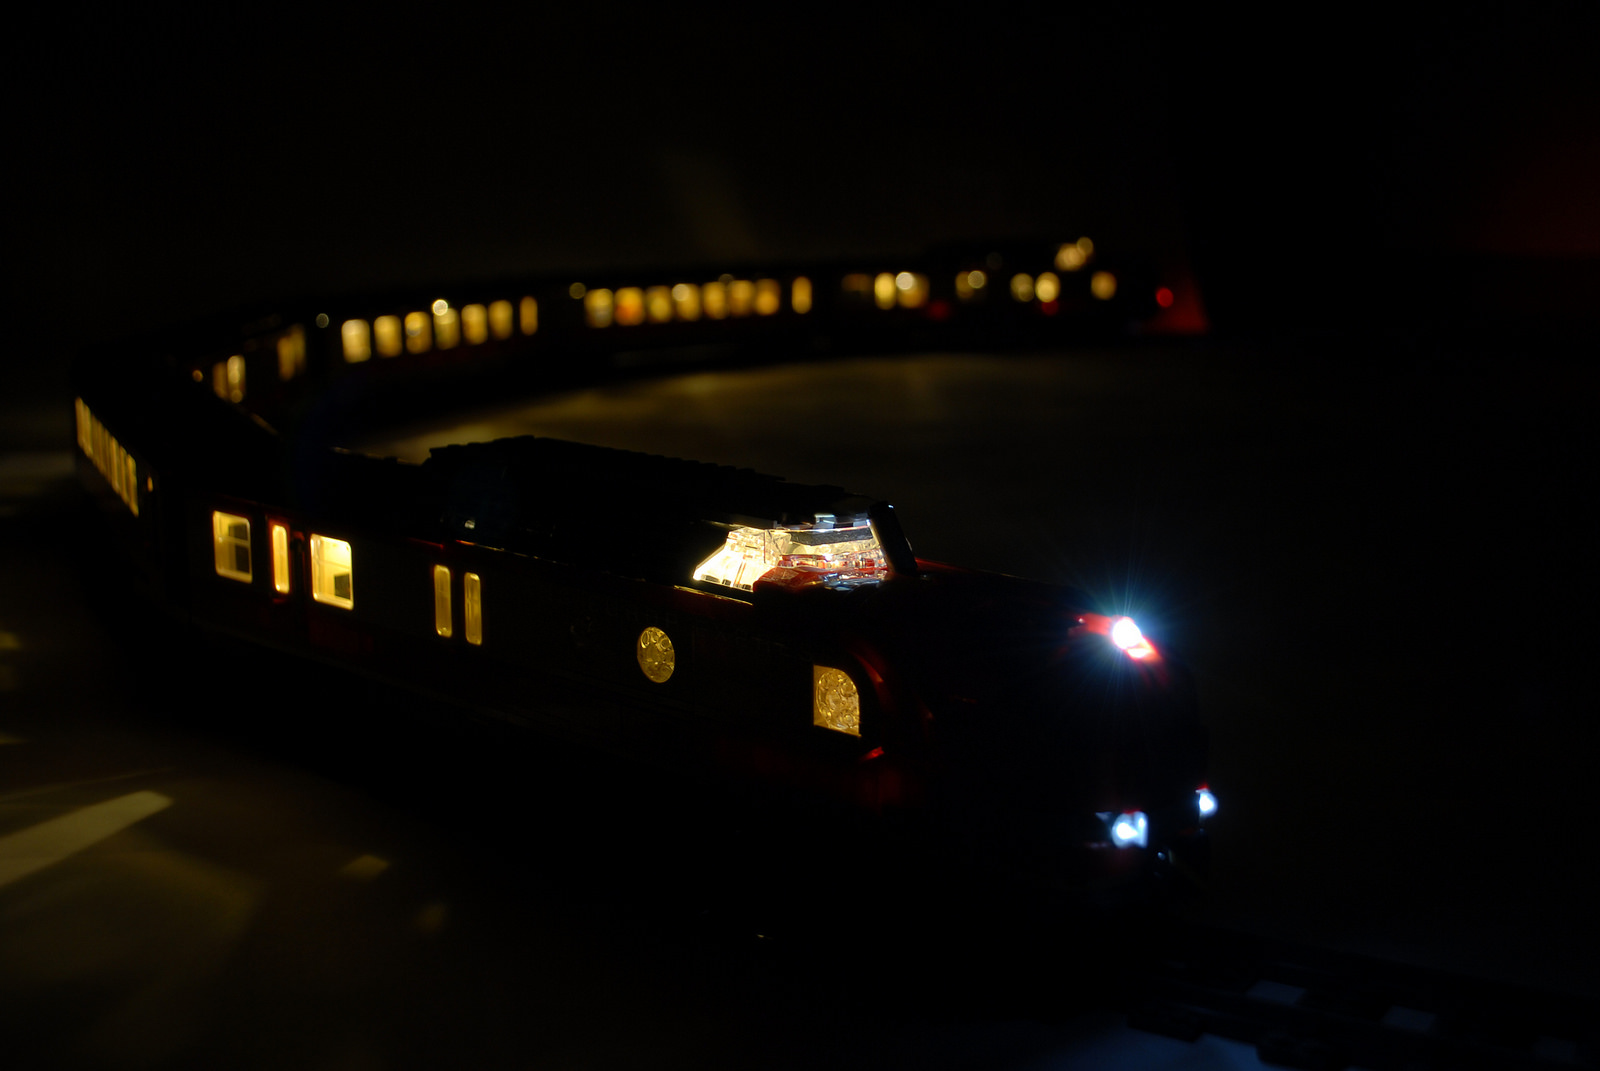
For the first time I realized interior lighting for one of my train models. The fairy lights with 20 small LEDs can be bent into shape with a little effort.
For the interior lighting, I use a button cell powered mini LED string lights. You can find something like this on ebay under the keywords "LED mini fairy string light"
The result is convincing and is also comparatively cheap.
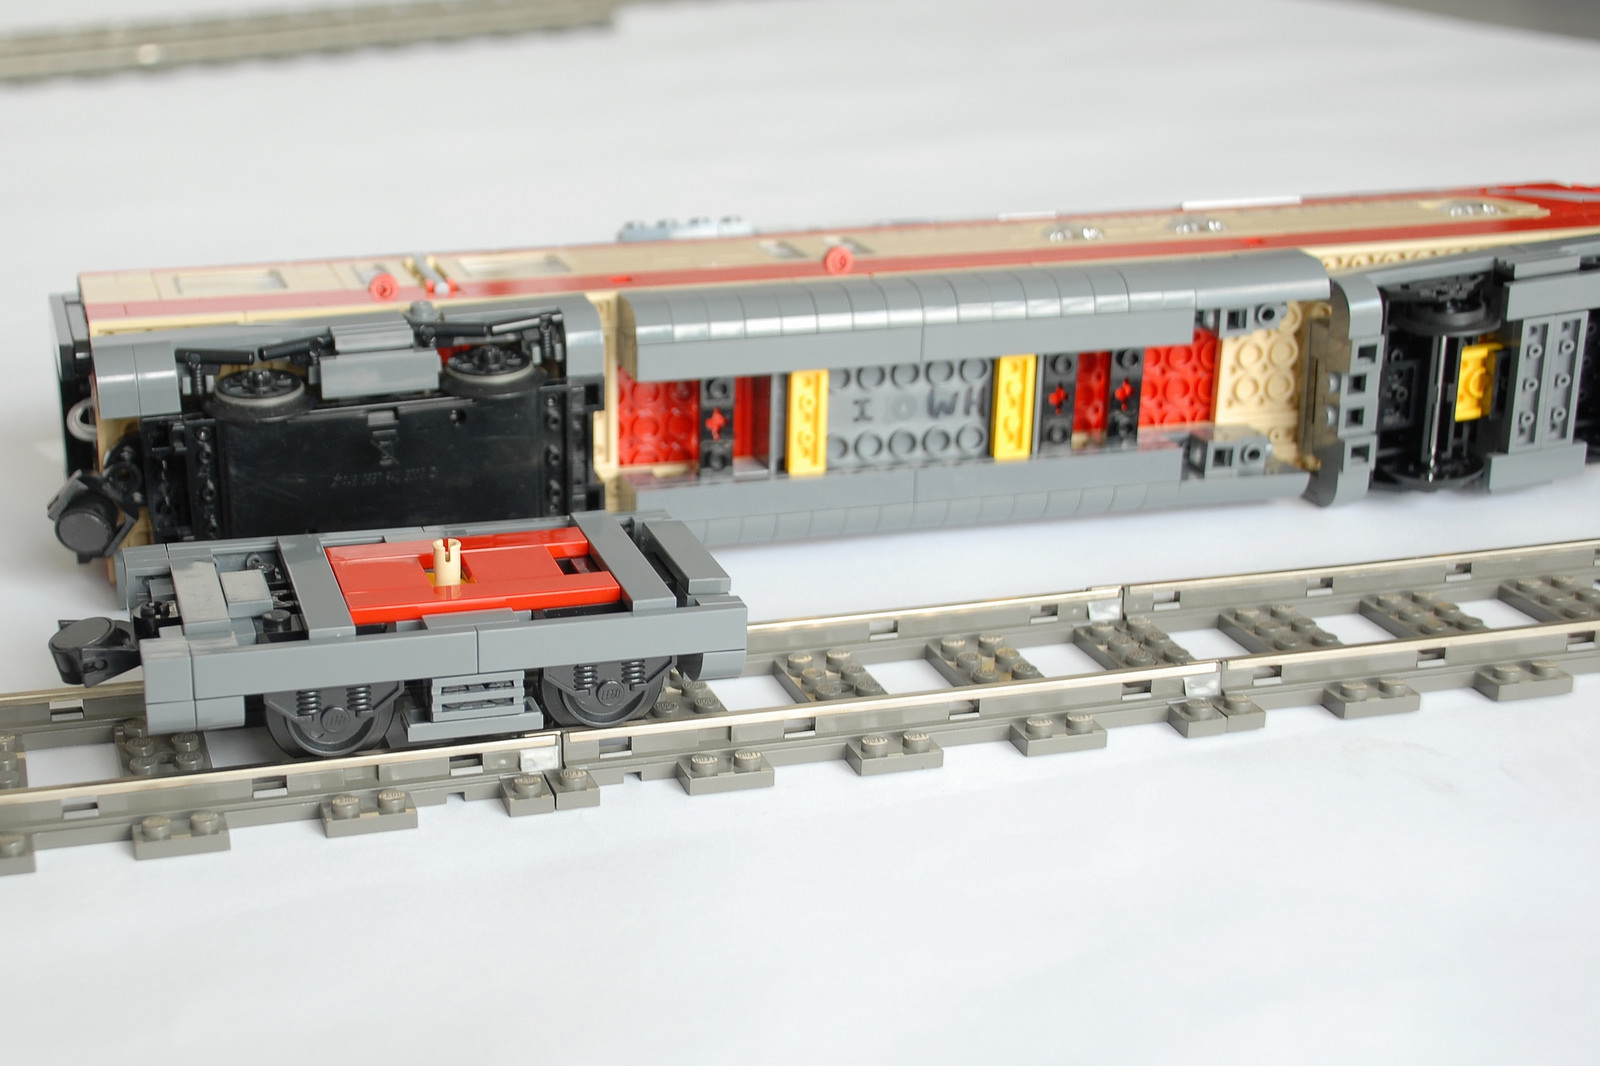
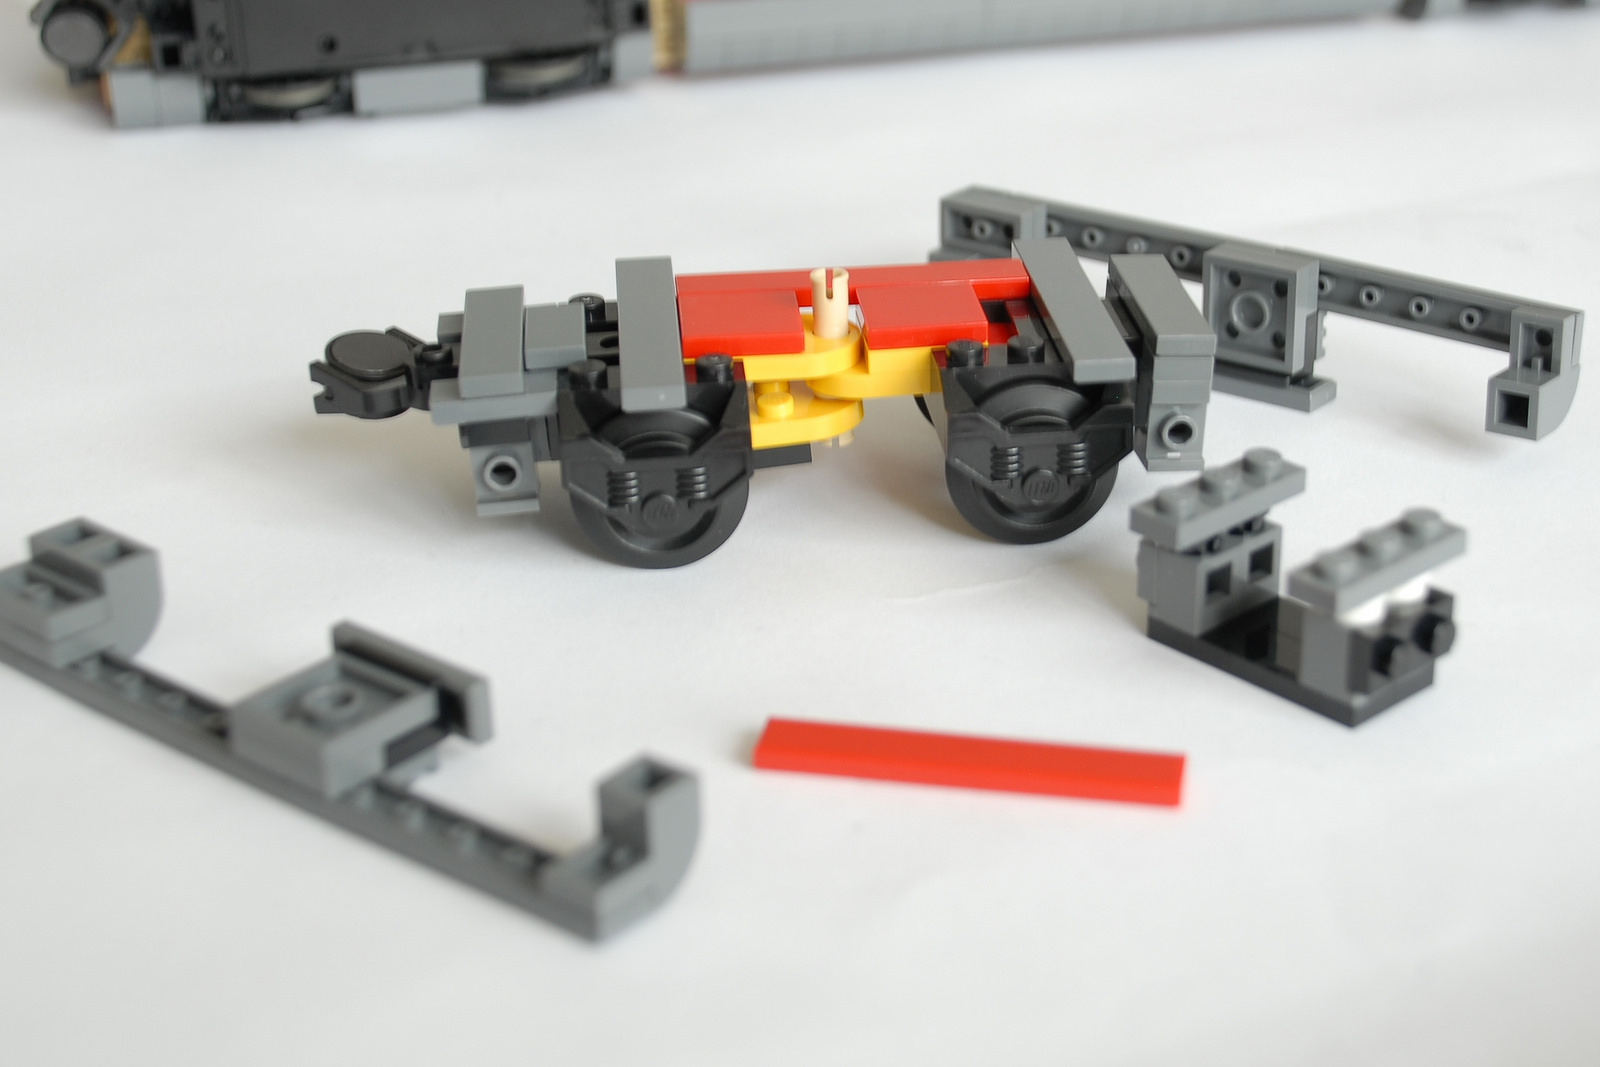
The bottom side of the engine unit and on of the Power Functions train motors.
The non-motorized bogie on the engine unit has the same arrangement of axles and spin pins as the Power Functions motor.
For a long time I wanted to build the curved strip with the help of a rigid hose, but I finally rejected that idea.
An earlier stall, here the nose is still a bit too long. But with trial and error I approach the goal.
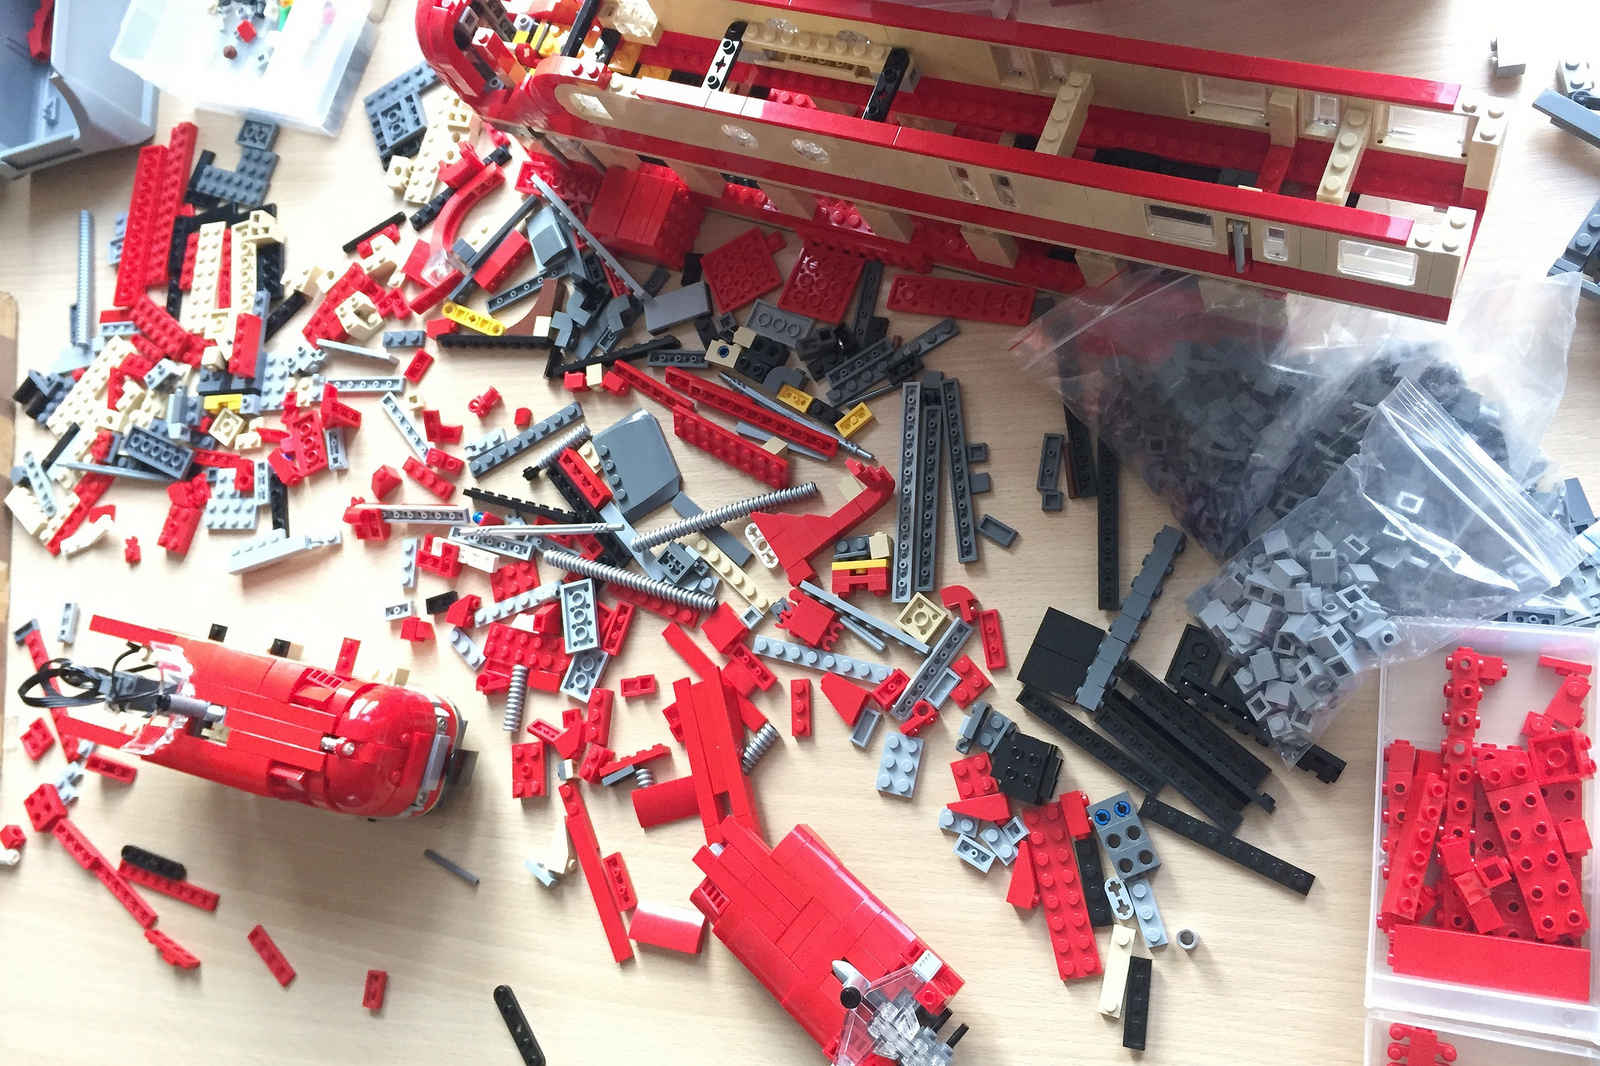
A look at the construction table. At times, four or five variants of the round nose whirring around on the table.
Again and again is built and rebuilt until it finally fits everything.
VT 11.5 Trans Europ Express (TEE) – YouTube video „LEGO VT 11.5 Trans-Europ-Express TEE“
The aim of this MOC was to use no custom parts (except stickers and the additional interior lighting). In addition, the train should also come through the normal LEGO curves and switches.
Lots of background information and pictures of the prototype gave me the book Baureihe VT 11.5. Die TEE-Triebwagen der DB. VT 877, SVT 137, VT 08.5, VT 10.5 (Stars der Schiene).
Building instruction
As little extra I made a building instruction for the complex nose of my VT 11.5 TEE.
Specifications
| Drive: | 3 Power Functions train motors (2 in the front engine unit, 1 in the back engine unit), receiver and rechargeable batteries in each engine unit |
| Type: | 7-wide, multiple unit with 6 units (2 engine units, 4 passenger units) Fully capable of LEGO curves and switches (even if it looks silly). Other geometries like BrickTracks R120 curves or TrixBrix/4DBrix switches are highly recommended. |
| Train Wheels: | Train wheel with Technic cross hole |
| Total Length: | ~2,50 m |
| Lighting: | LEGO LED lights for the front and end lights (3x white in front and 2x red in the back). Interior lighting using button cell powered mini LED string lights |
| Modified LEGO parts: | 2x 2x4 tiles with the TEE logo by www.steindrucker.com |
| Stickers: | A piece of red tape to cover the center LED on the nose Yellow sticker for the coupling cover from an old LEGO sticker sheet Trans Europ Express decal by www.modellbahndecals.de in scale 1:45 (which is a little bit too big) |
| Year of Construction: | 2018 |
Media coverage of my LEGO VT 11.5 Trans Europ Express:
- Album on Flickr
- Posting and discussion on 1000steine.de
- Posting and discussion on eurobricks.com
- Posting and discussion on doctor-brick.de
- Hall of Fame on doctor-brick.de
- Blog entry on promobricks.de
- Blog entry on zusammengebaut.com
- Blog entry on bouwsteentjes.info
- Blog entry on brothers-brick.com
- The Trans Europ Express, Two Versions of the Iconic Train in LEGO on brickmodelrailroader.com
Building instructions and part lists
There are no building instructions und part lists available for the models shown on this web site. There are no engineering drawings available. To build the LEGO models only photographs from the real prototypes were used. All models are unique and not for sale.


